
Quasar framework
Install Java 8 on Mac
- Install java8 using home-brew
brew cask install adoptopenjdk/openjdk/adoptopenjdk8
- Install
jenvto manage multiple java versions
brew install jenv
- Add jenv to .zshrc file
code ~/.zshrc
Add lines:
# pyenv jenv
export PATH="$HOME/.jenv/bin:$PATH"
eval "$(jenv init -)"
#pyenv jenv
- Add the installed java to jenv:
jenv add /Library/Java/JavaVirtualMachines/adoptopenjdk-8.jdk/Contents/Home/

To see all the installed java:
╰─❯ jenv versions
* system (set by /Users/azat/.jenv/version)
  1.8
  1.8.0.265
  openjdk64-1.8.0.265
Configure the java version which you want to use:
jenv global 1.8
Set JAVA_HOME
jenv enable-plugin export
Quasar Demo
Creating a quasar app:
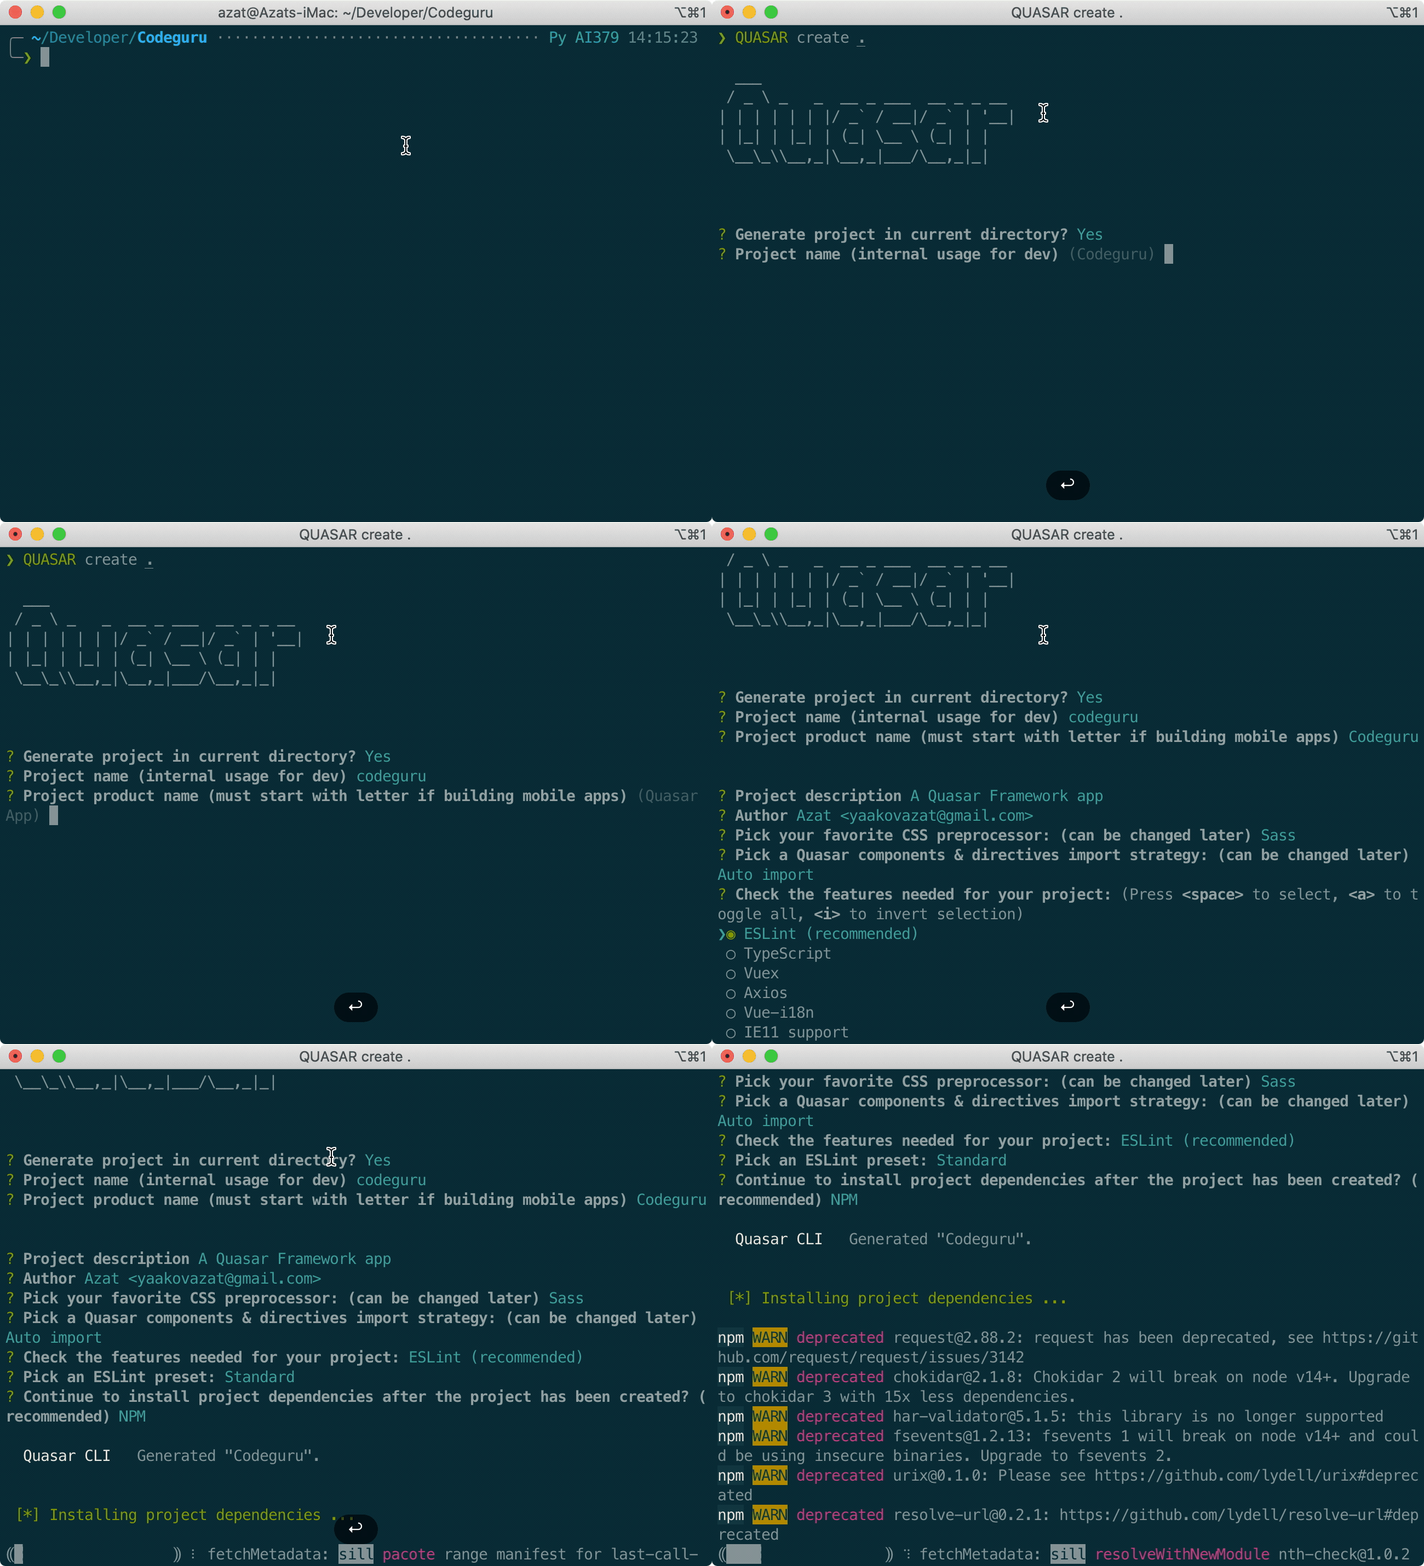
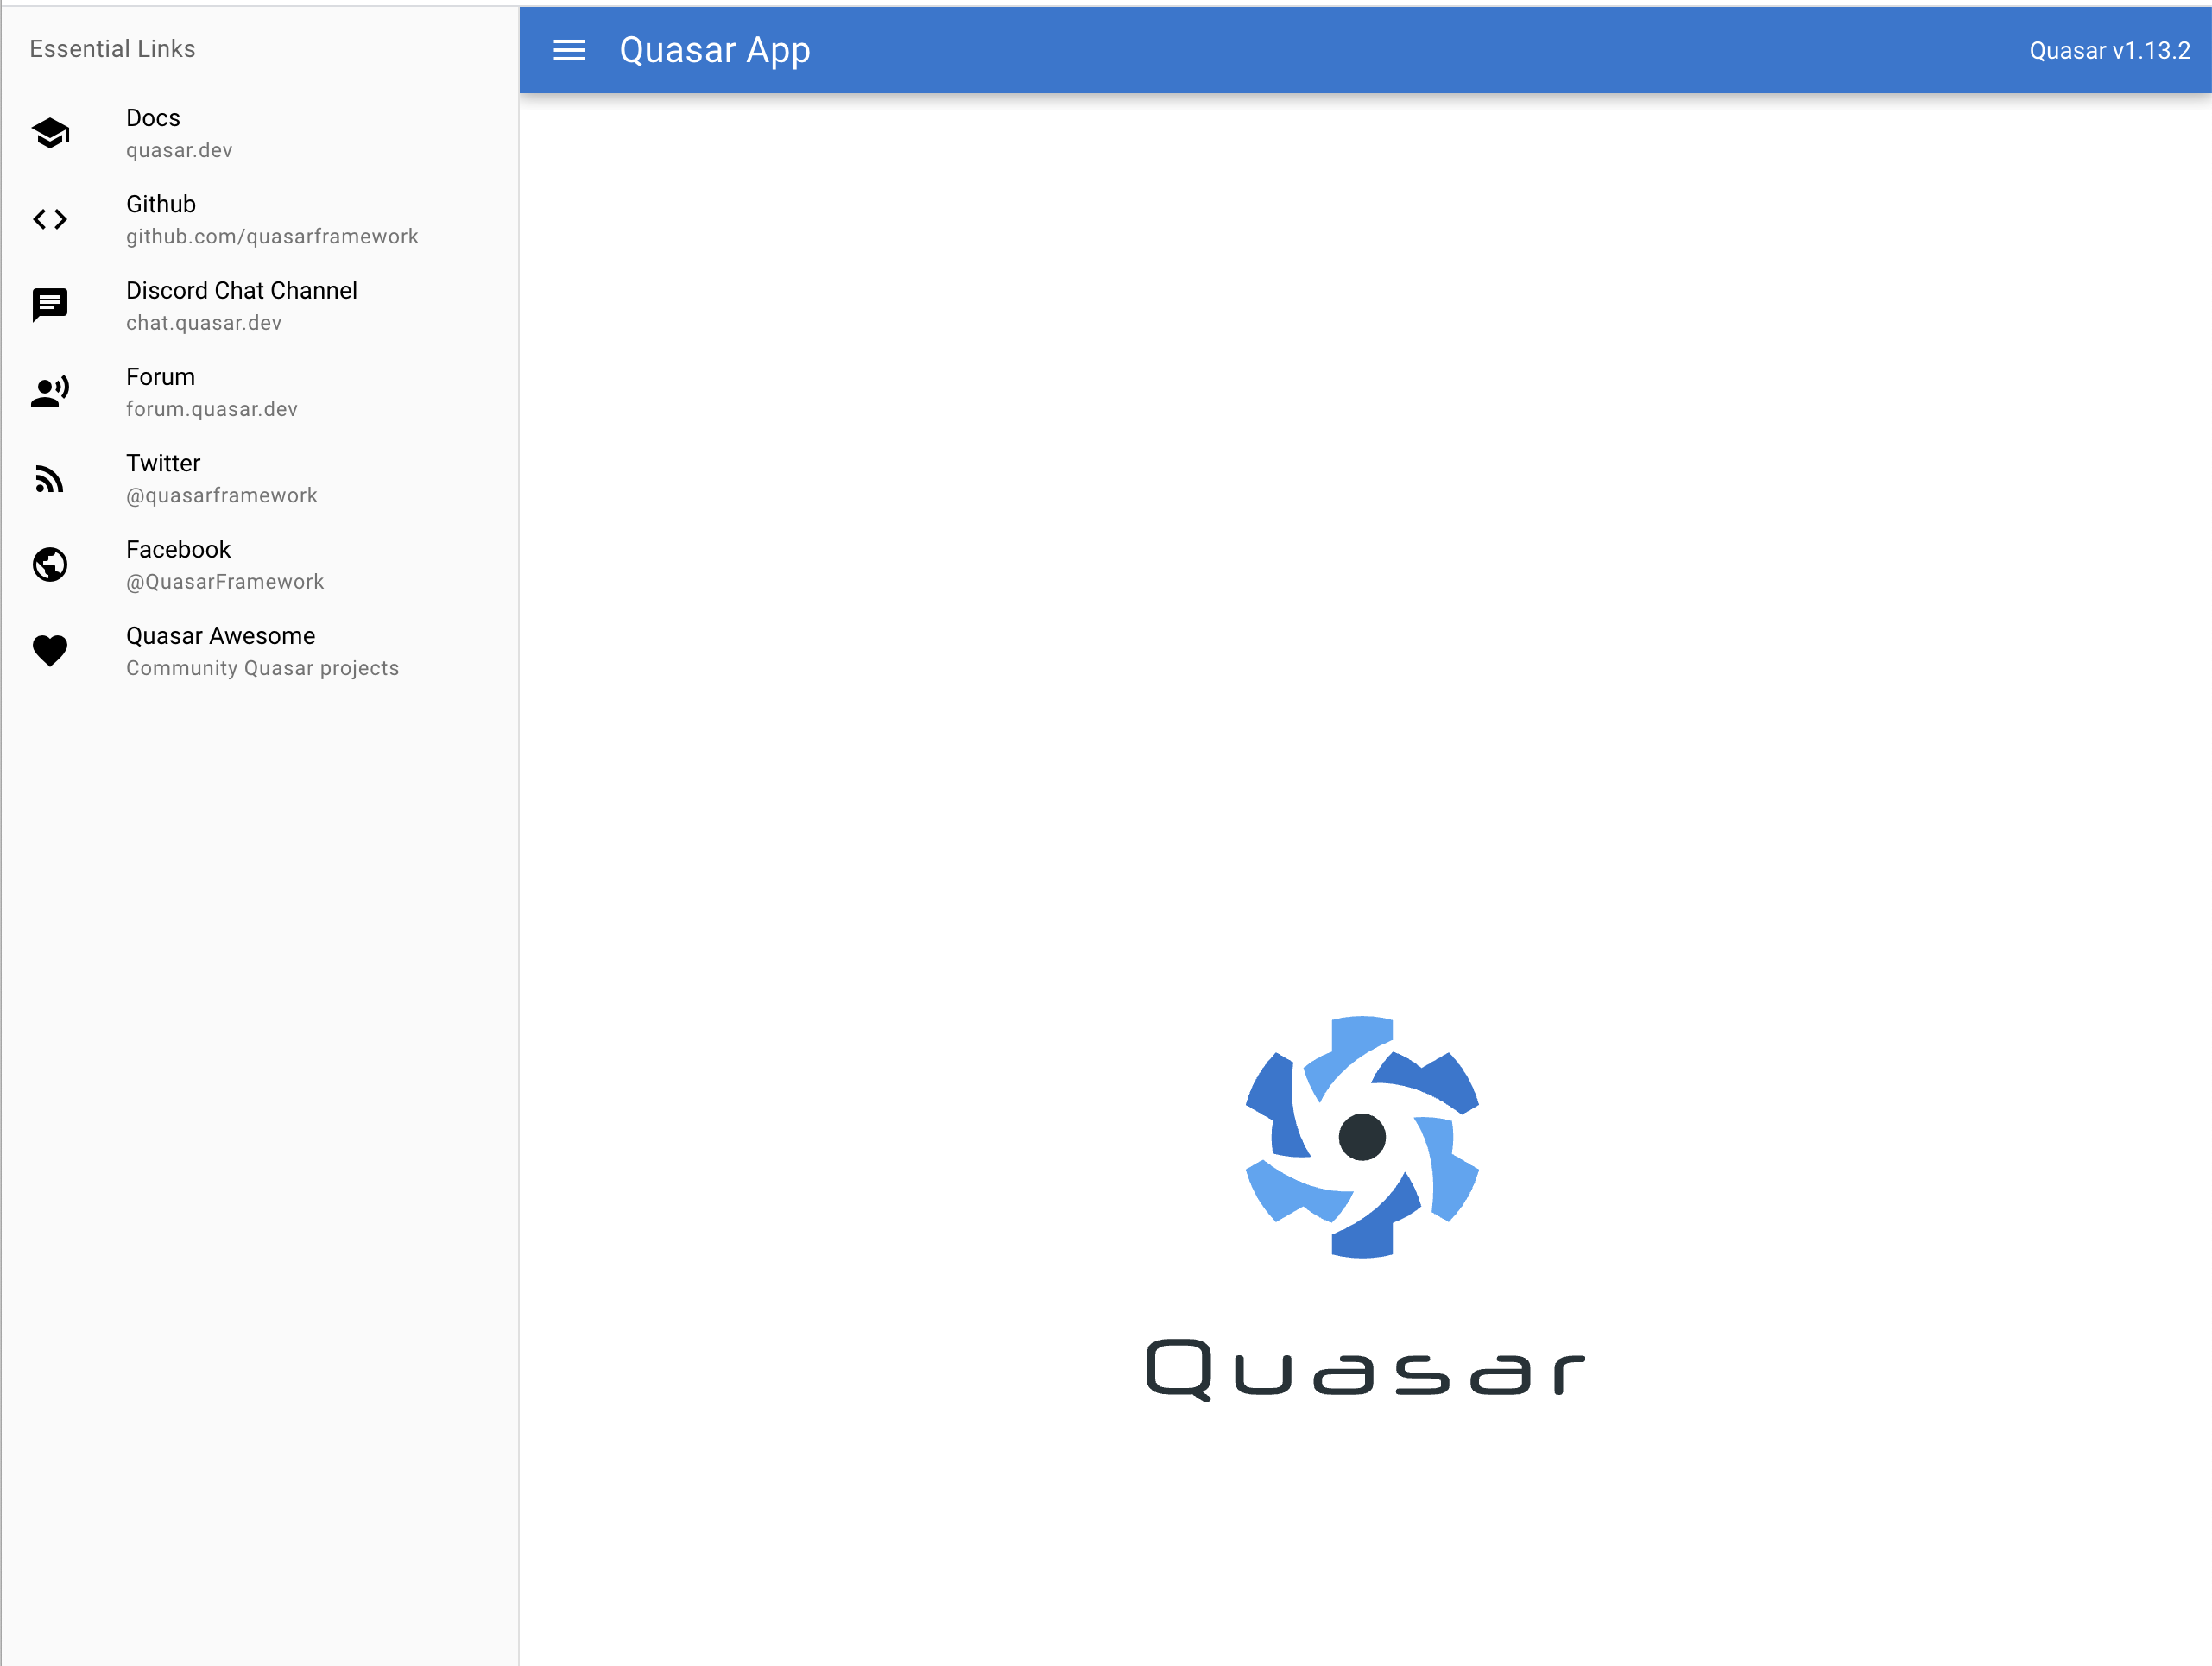
start the Quasar App:
quasar dev
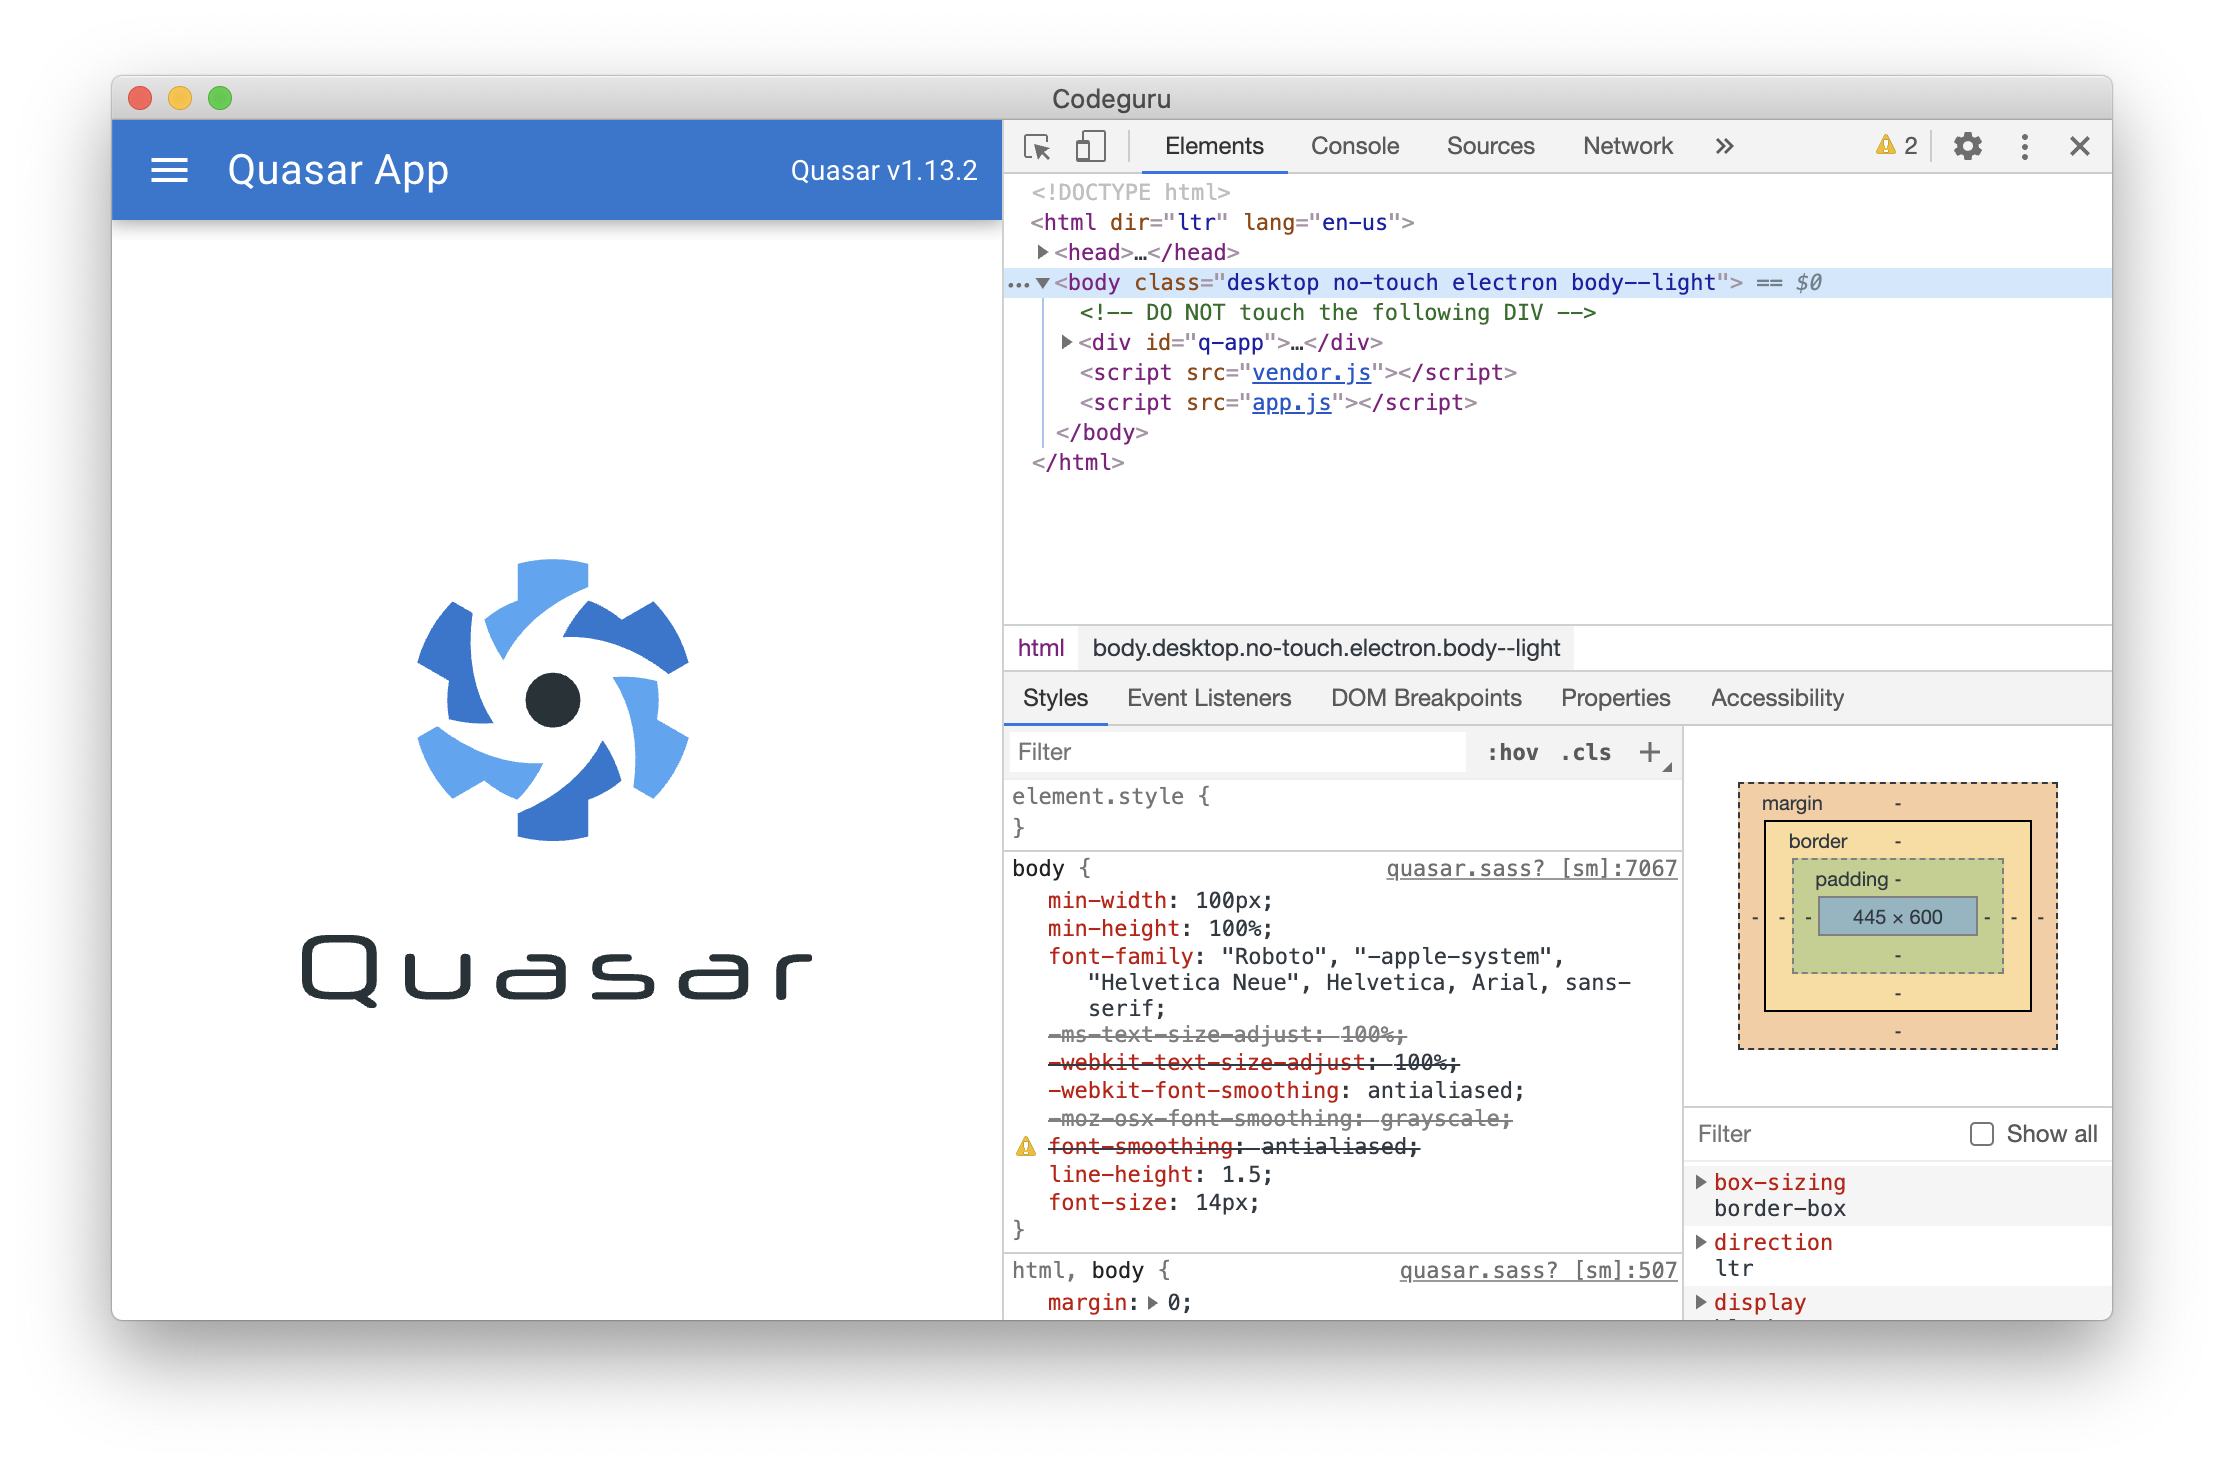
Starting as a Desktop App:
quasar dev -m electron
Starting as a Cordova Mobile App
First, install cordova :
npm install -g cordova
Agree the Android studio license :
-
Enter this folder :
cd /Users/azat/Library/Android/sdk/tools/bin -
Run the code:
./sdkmanager --licenses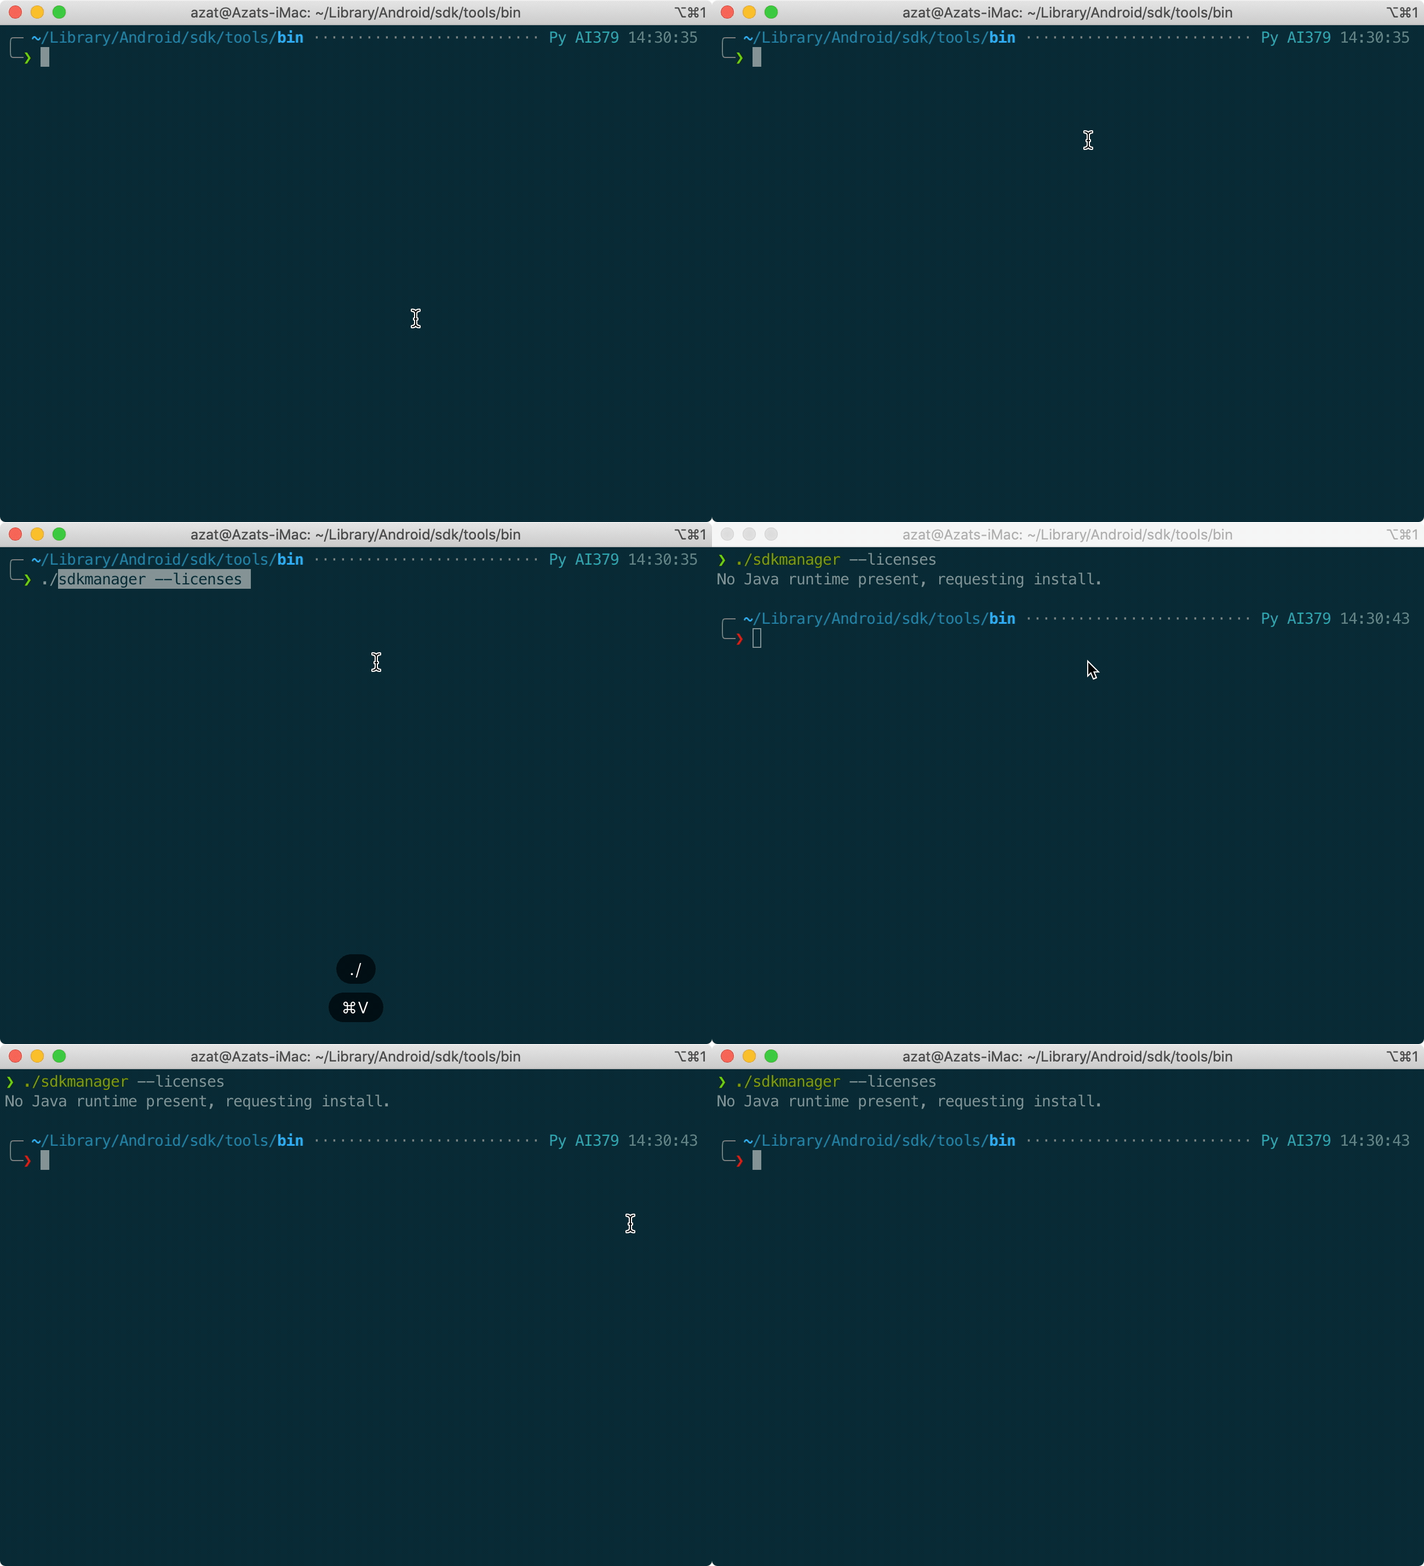
Accept the Xcode license :
sudo xcodebuild -license accept
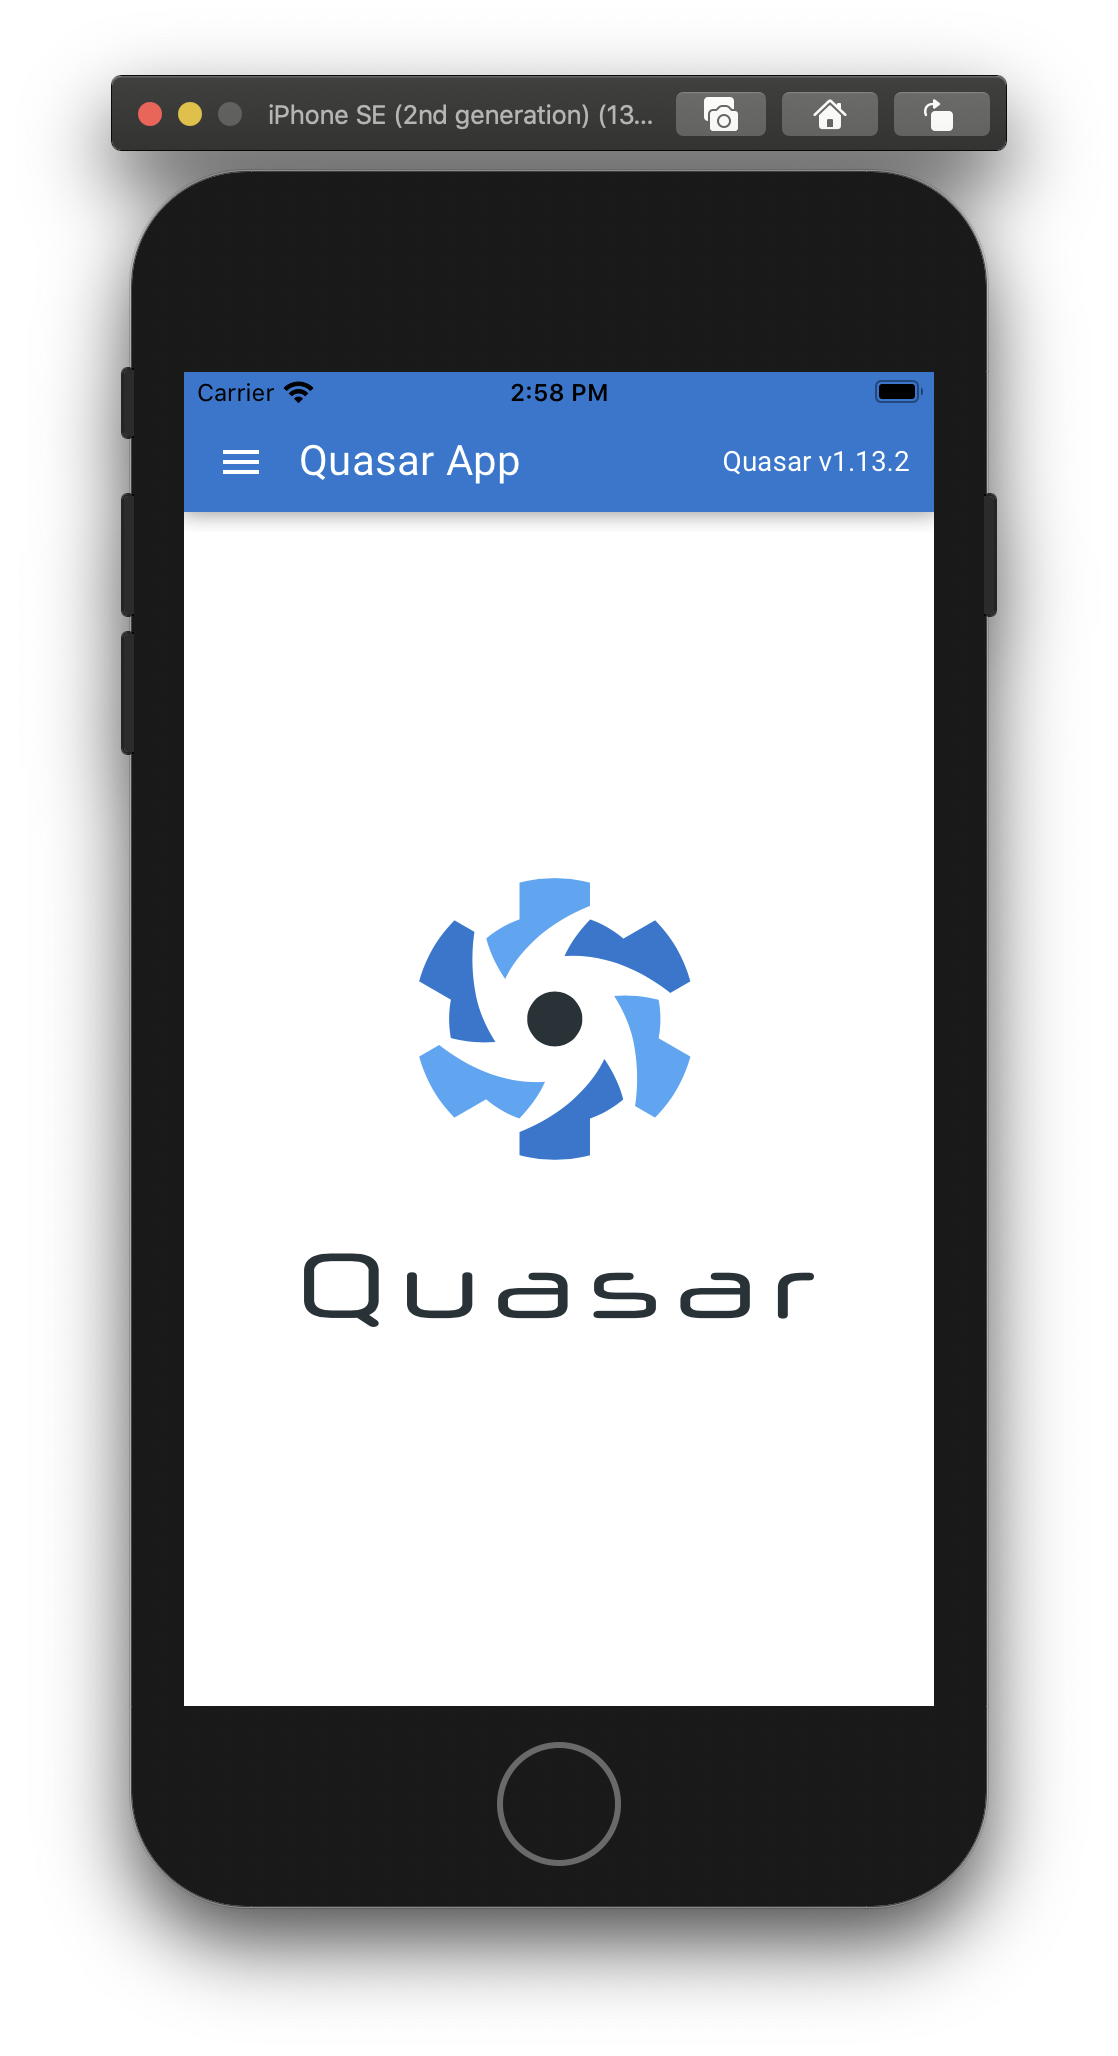
Start the Cordova iOS app :
quasar dev -m cordova -T ios
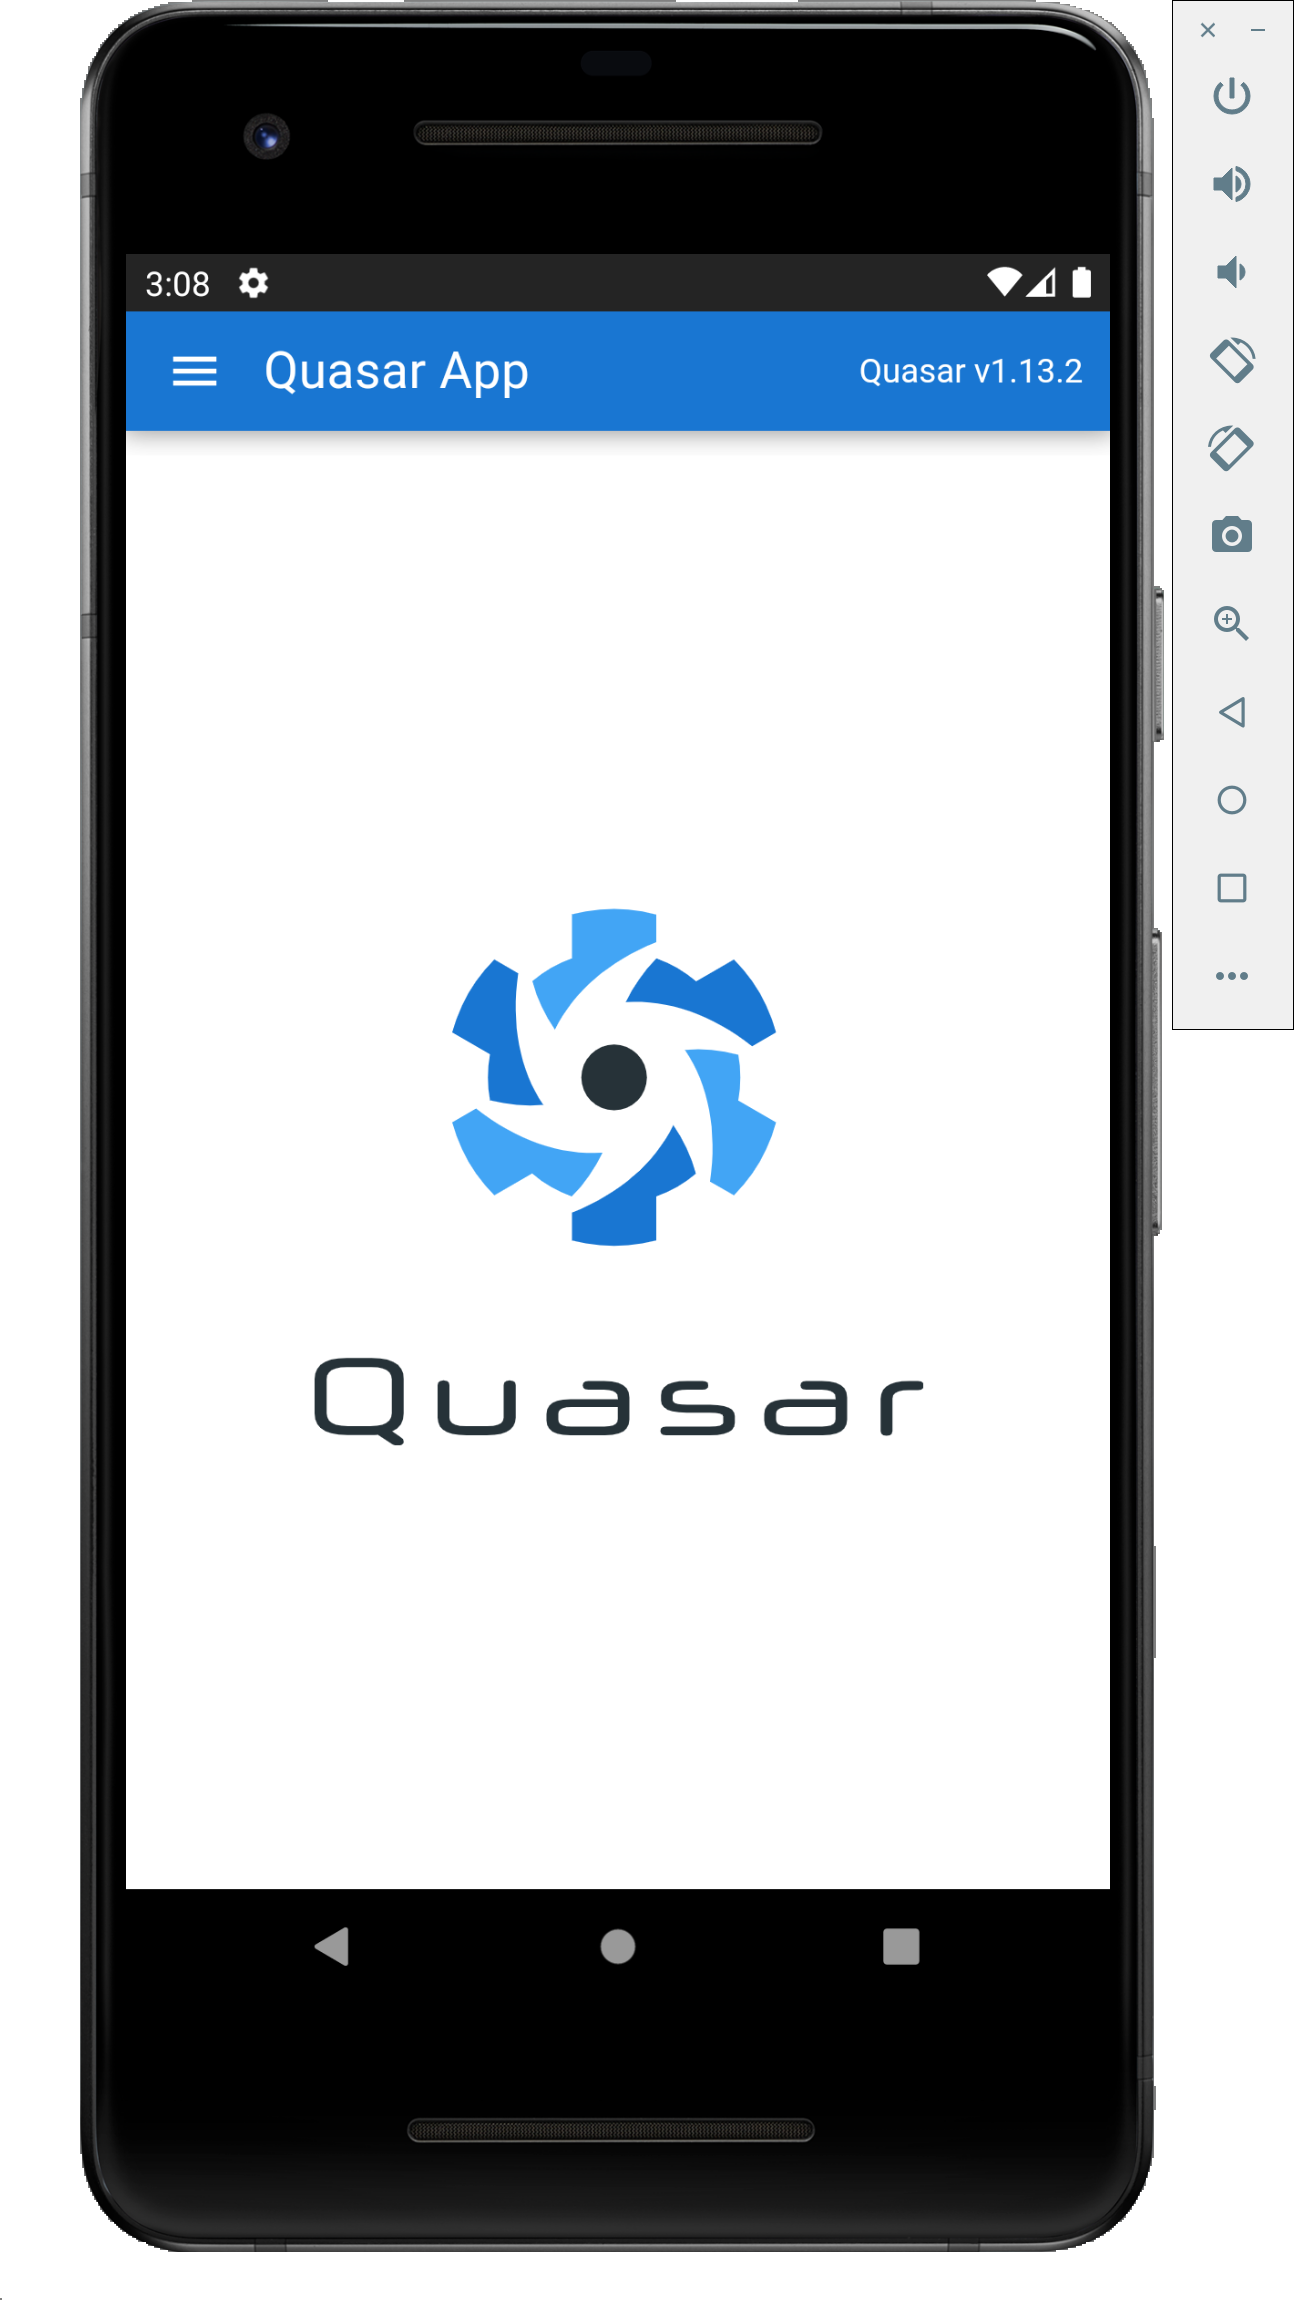
**Start the cordova Android app
- Install gradle [FIRST TIME ONLY]*
brew install gradle
- Run the cordova app
quasar dev -m cordova -T android
Responsive UI using Quasar framework
Quasar Framework Basics
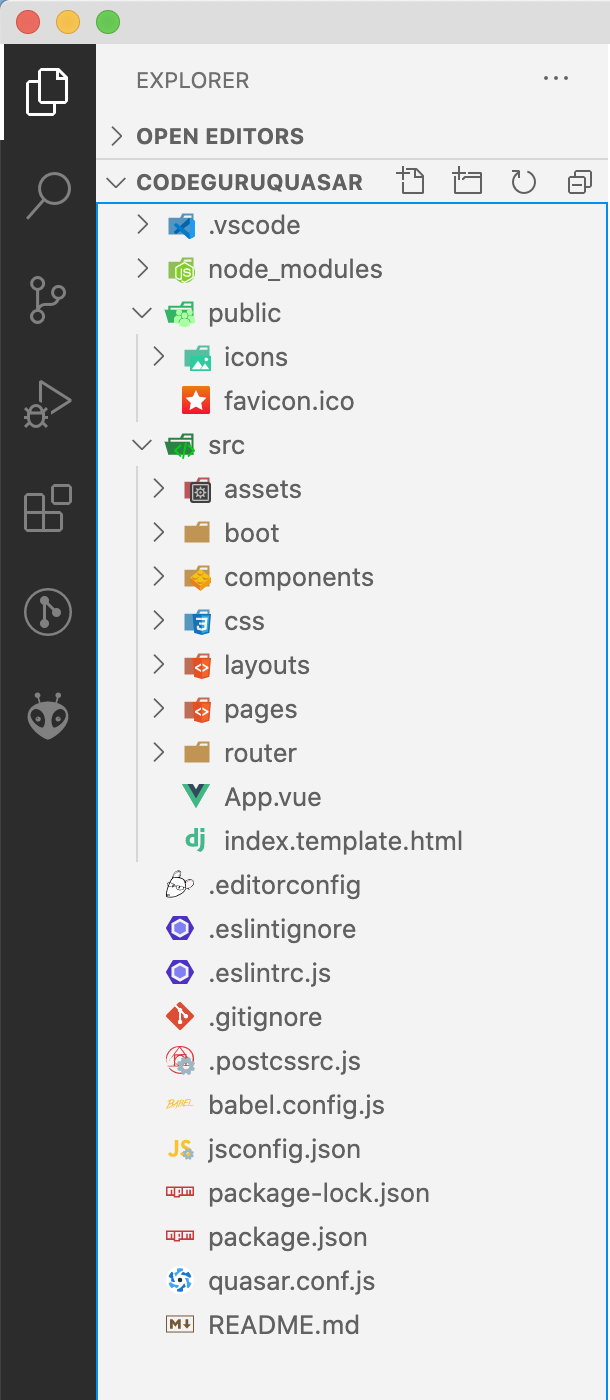
assets folder is used to save svg files (the vector image file) that is dynamic and can be used by web pack.
boot folder: initialization when the vue application started.
Components : vue components to reuse them.
Css : quasar variables is used for theming and doing var, creating global variables.
Layout : for layour
Router : navigation related code goes here. all information about navigation .
Statics : used for static files that never change. like png and jpg images not change and so they should be saved here.
app.vue the root component of entire vue js application . acts like root for the app.
dist : is the locatin which creates the final application that is going to be in the server in production.
and there are several configuration files:
Layout is the mechanism that gives a consistant look to the entire application.
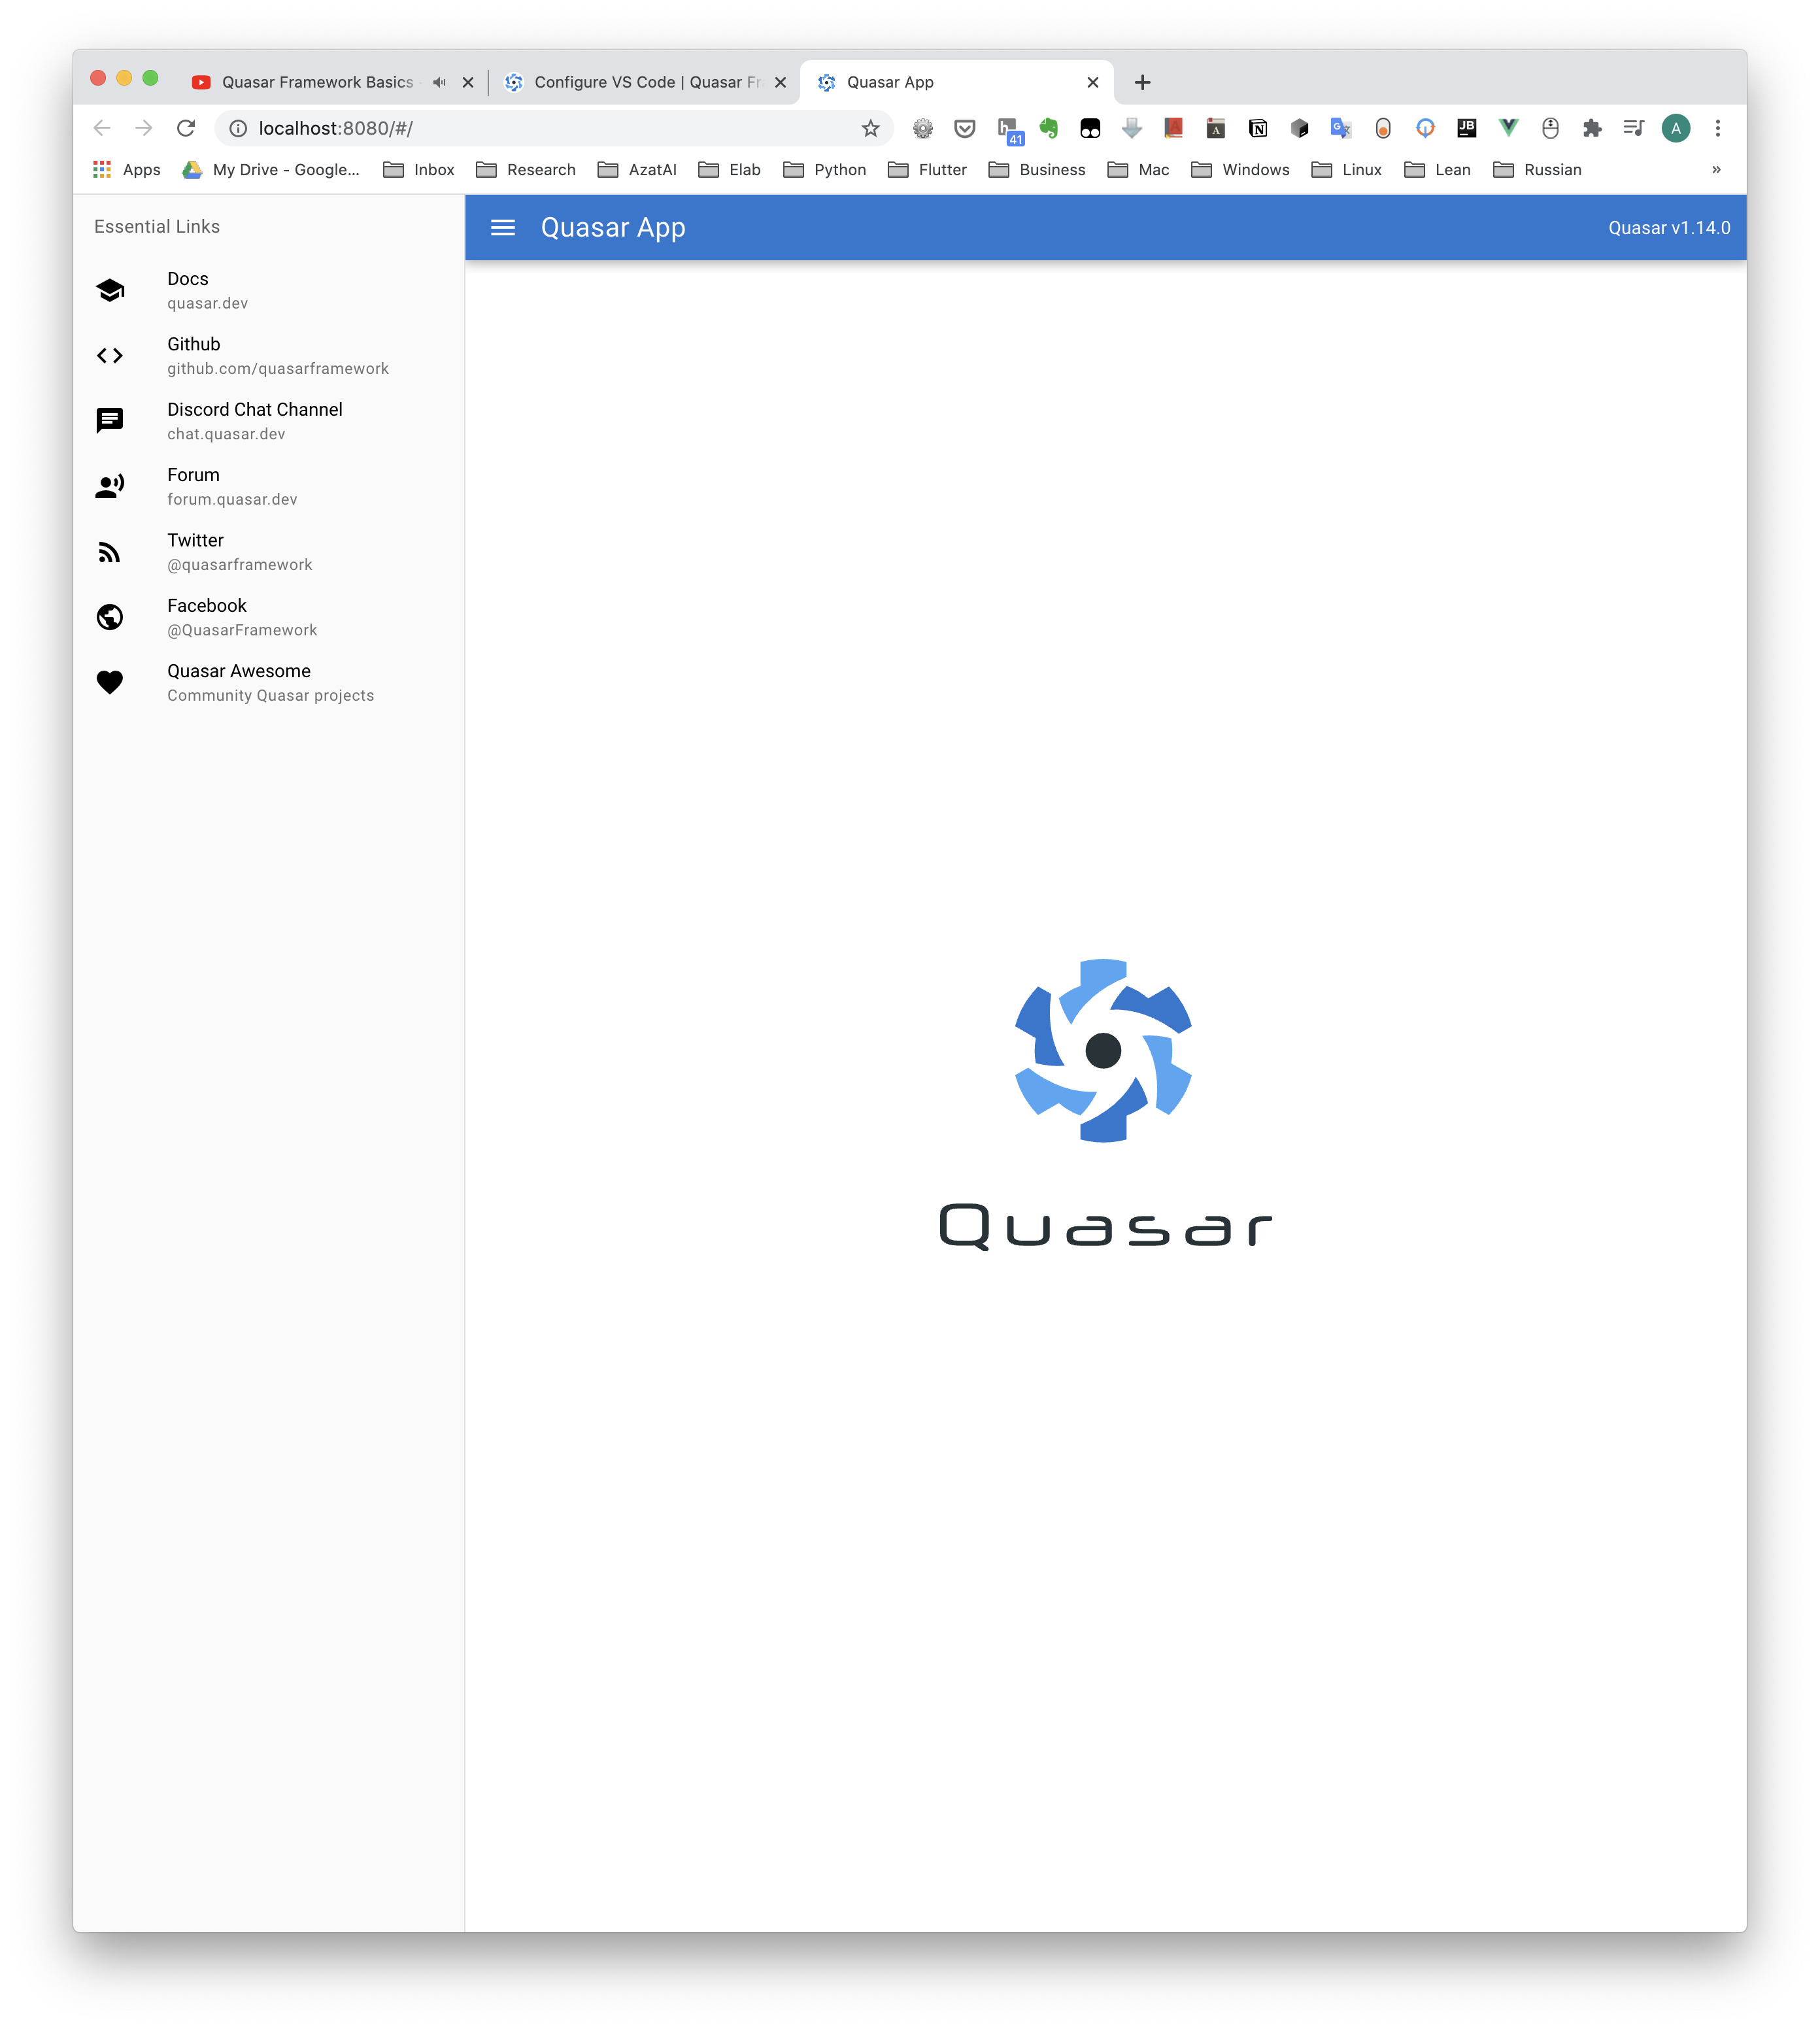
Try to change the layout and see, how it affects the app.



this part is descibed in the index.vue file :
<template>
  <q-page class="flex flex-center">
    <img
      alt="Quasar logo"
      src="~assets/quasar-logo-full.svg"
    >
  </q-page>
</template>

<script>
export default {
  name: 'PageIndex'
}
</script>
To understand the app, actually we can start by seeing it’s structure:
const routes = [
  {
    path: '/',
    component: () => import('layouts/MainLayout.vue'),
    children: [
      { path: '', component: () => import('pages/Index.vue') }
    ]
  },

  // Always leave this as last one,
  // but you can also remove it
  {
    path: '*',
    component: () => import('pages/Error404.vue')
  }
]

export default routes
graph LR
A --> B & C
A["Quasar App"]
B["path: '/'"]
C["path: '*'"]
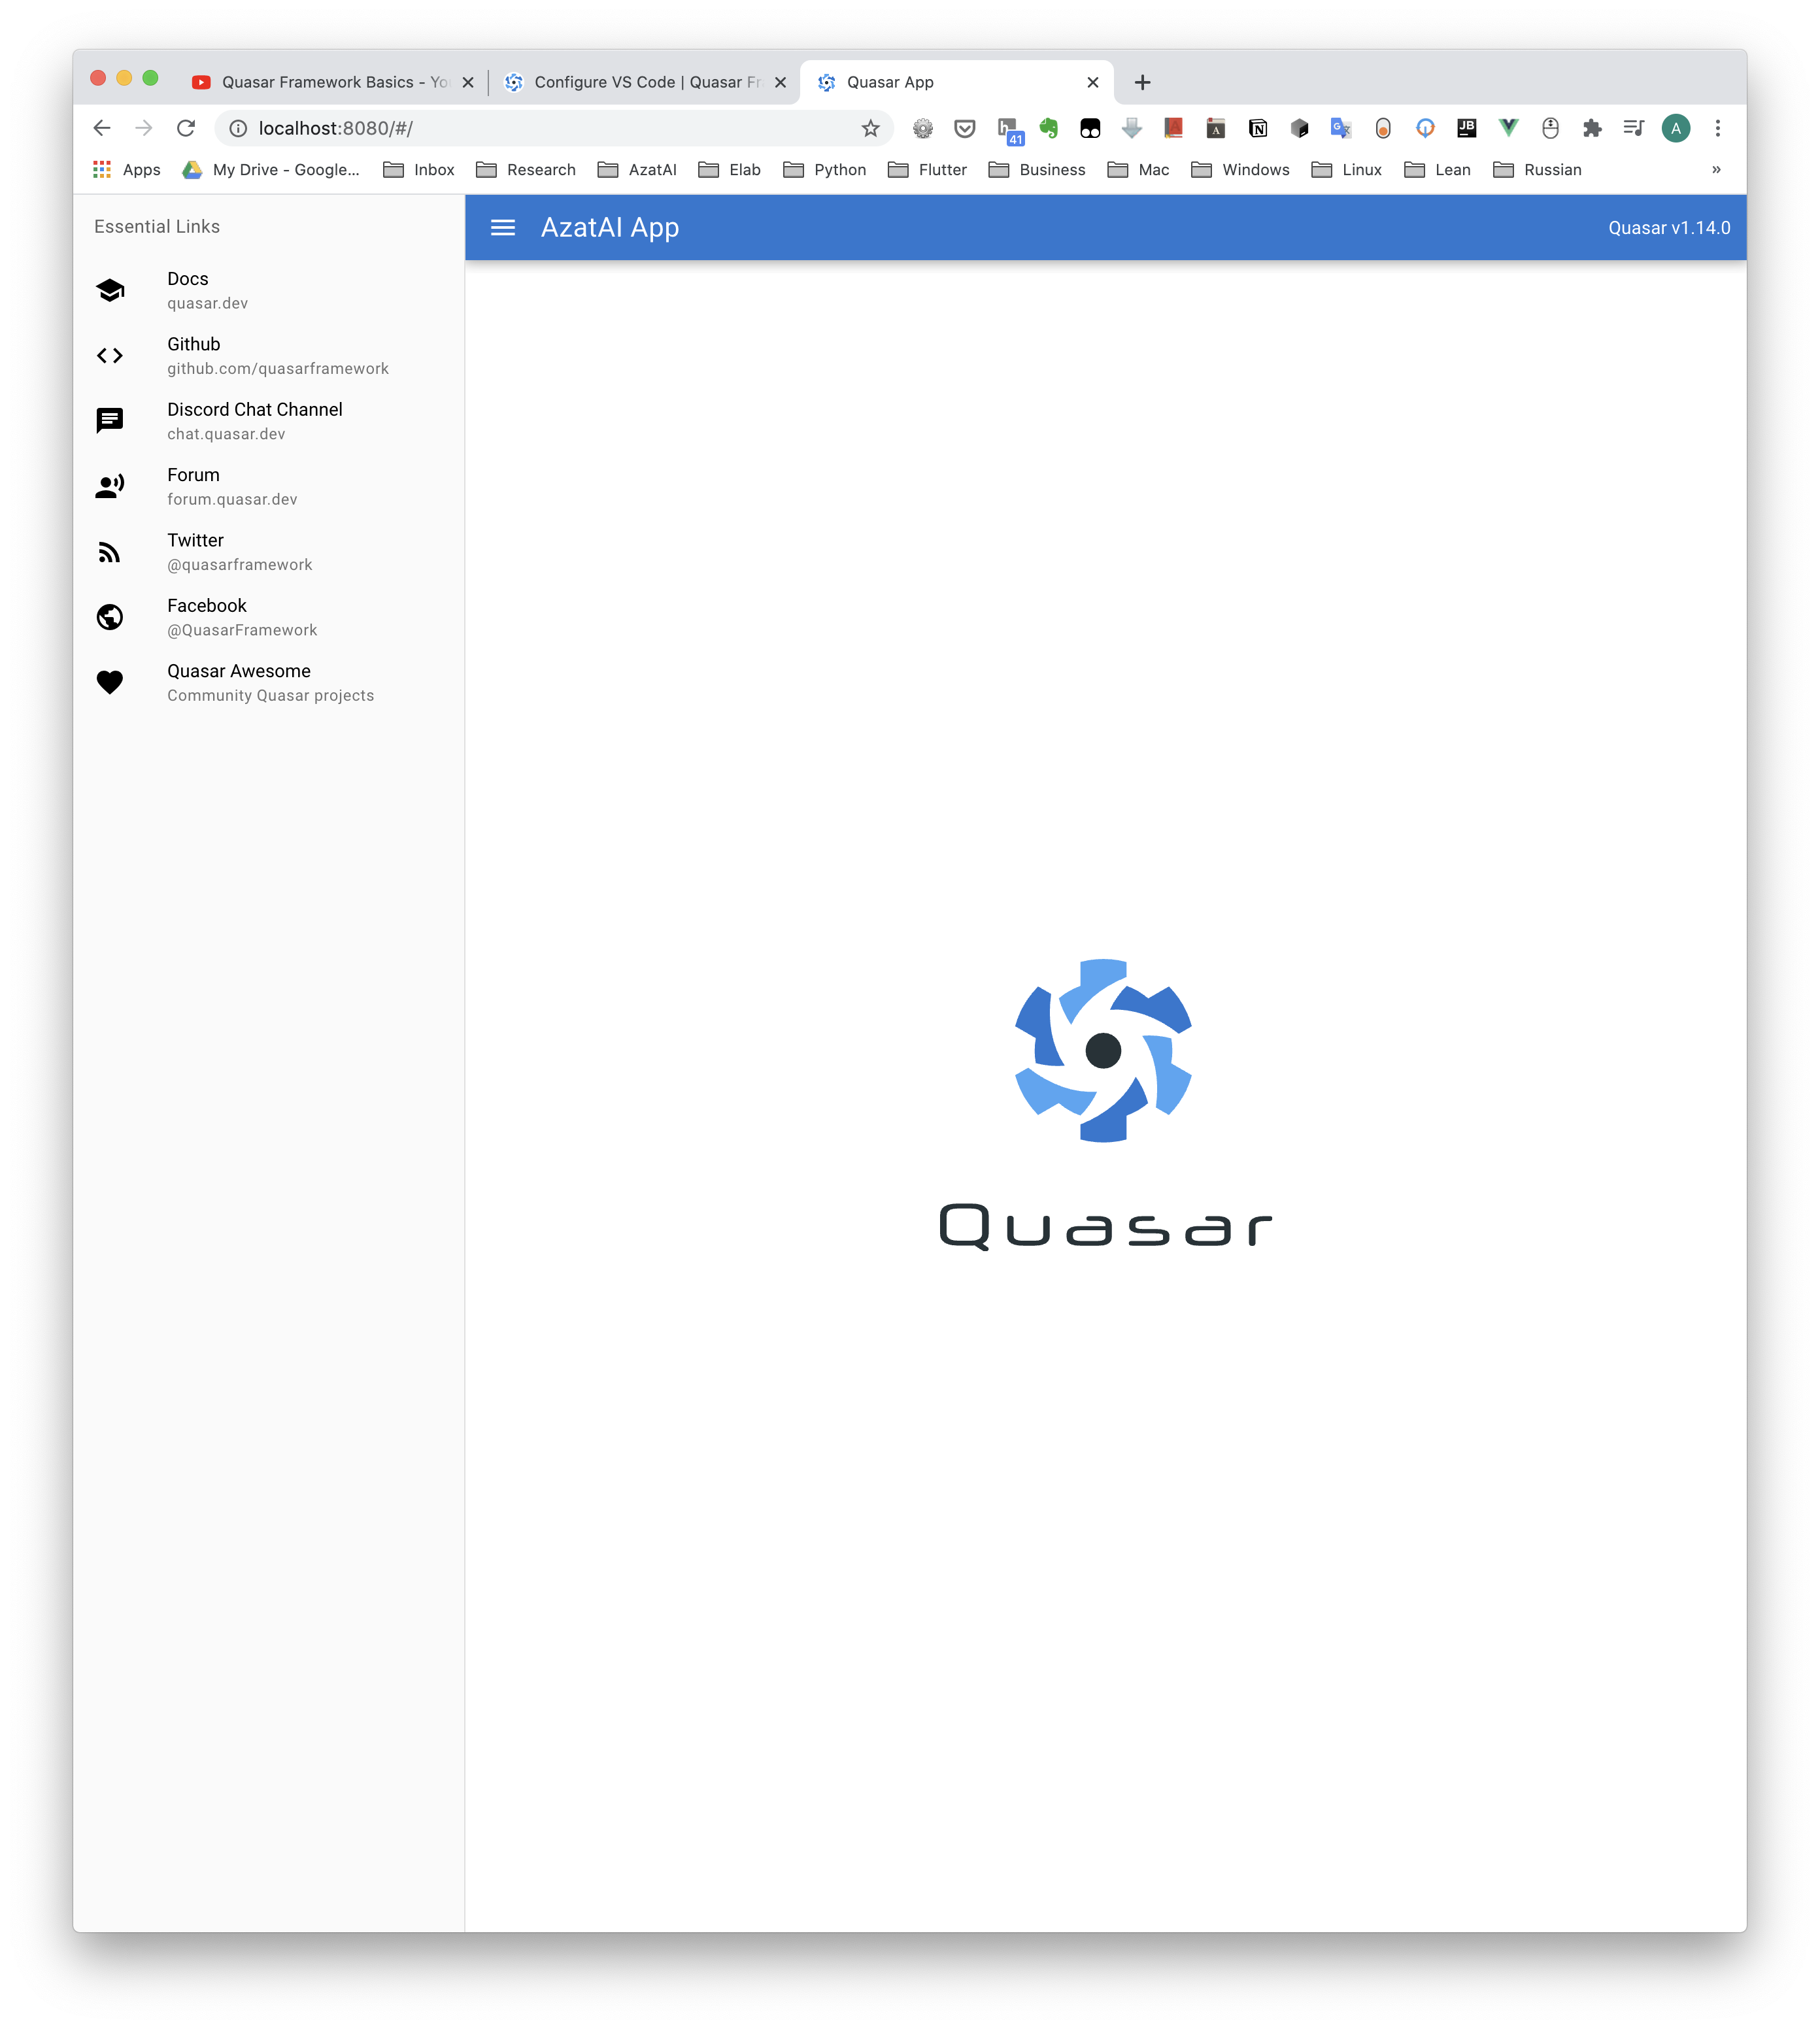
Path: ‘/’
Path: ‘*’ (means except the first one):
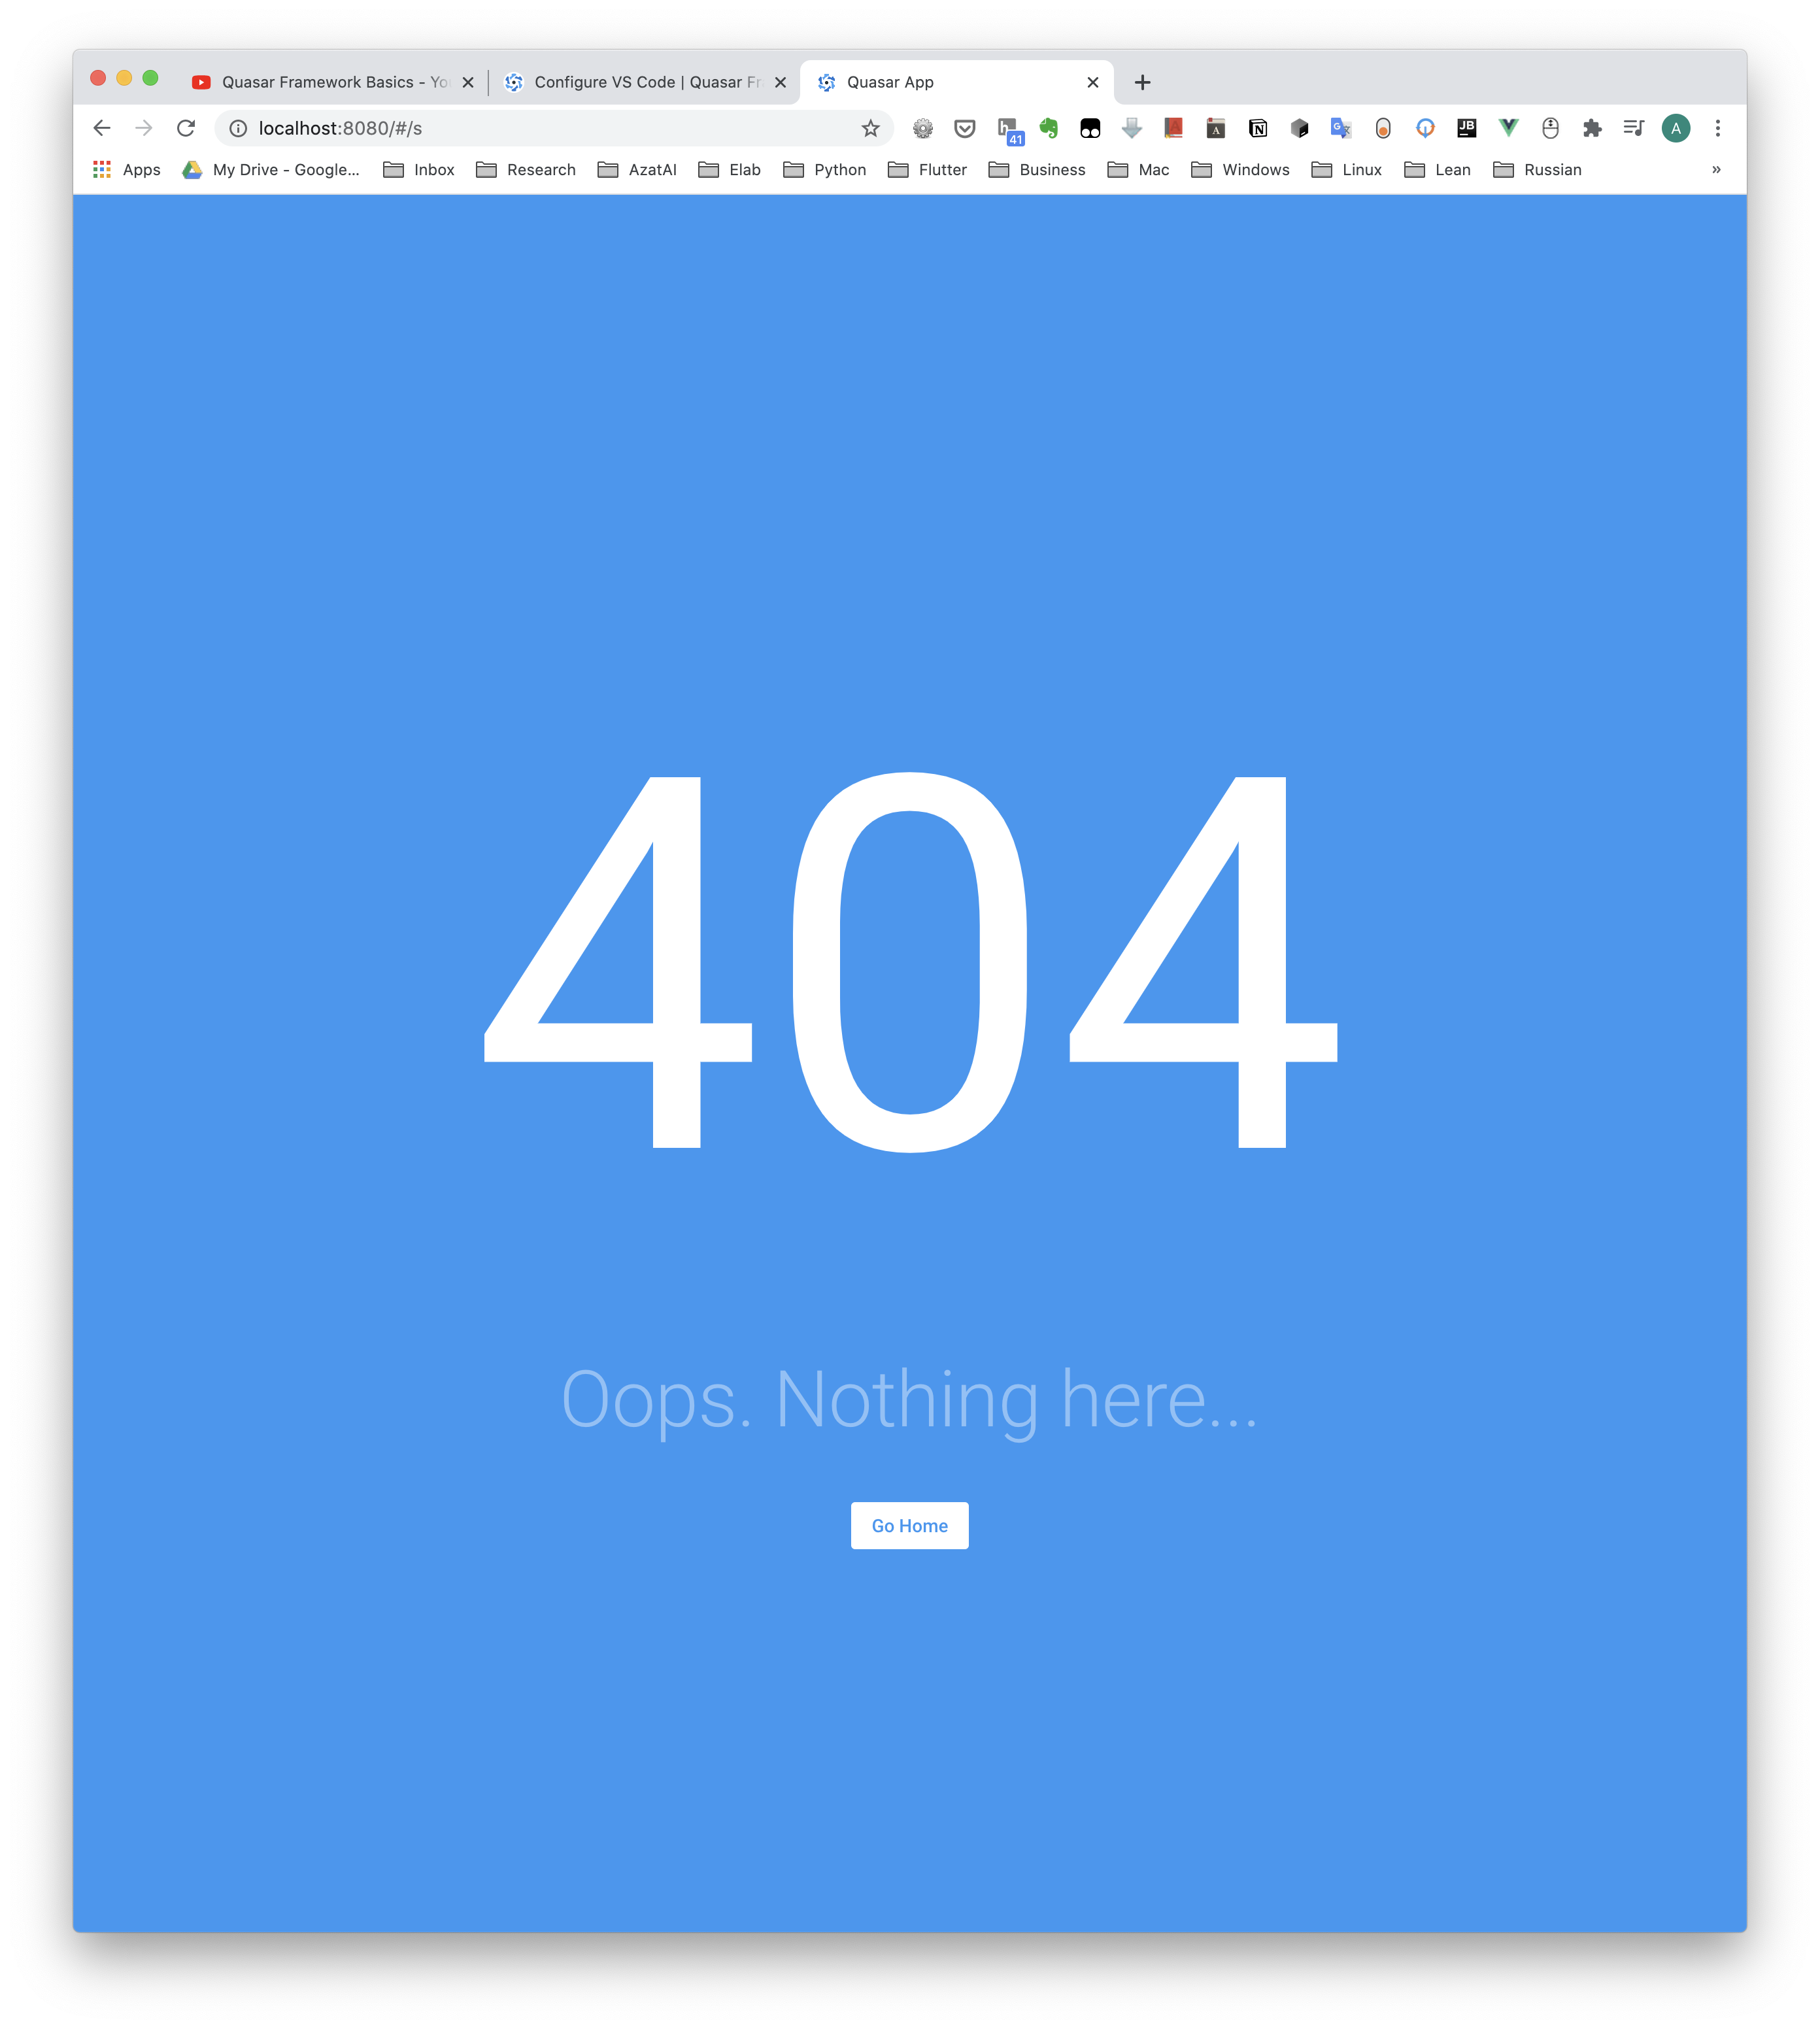
Path is not included in the first part, will be handled by the secound part “*”

the path ‘/’ at first is completly as a single layout : mainlayout, so that it has a constant layout for each.
The MainLayout has three parts :
<template>
  <q-layout view="lHh Lpr lFf">
    <q-header elevated>
      <q-toolbar>
        <q-btn
          flat
          dense
          round
          icon="menu"
          aria-label="Menu"
          @click="leftDrawerOpen = !leftDrawerOpen"
        />

        <q-toolbar-title>
          AzatAI App
        </q-toolbar-title>

        <div>Quasar v</div>
      </q-toolbar>
    </q-header>

    <q-drawer
      v-model="leftDrawerOpen"
      show-if-above
      bordered
      content-class="bg-grey-1"
    >
      <q-list>
        <q-item-label
          header
          class="text-grey-8"
        >
          Essential Links
        </q-item-label>
        <EssentialLink
          v-for="link in essentialLinks"
          :key="link.title"
          v-bind="link"
        />
      </q-list>
    </q-drawer>

    <q-page-container>
      <router-view />
    </q-page-container>
  </q-layout>
</template>

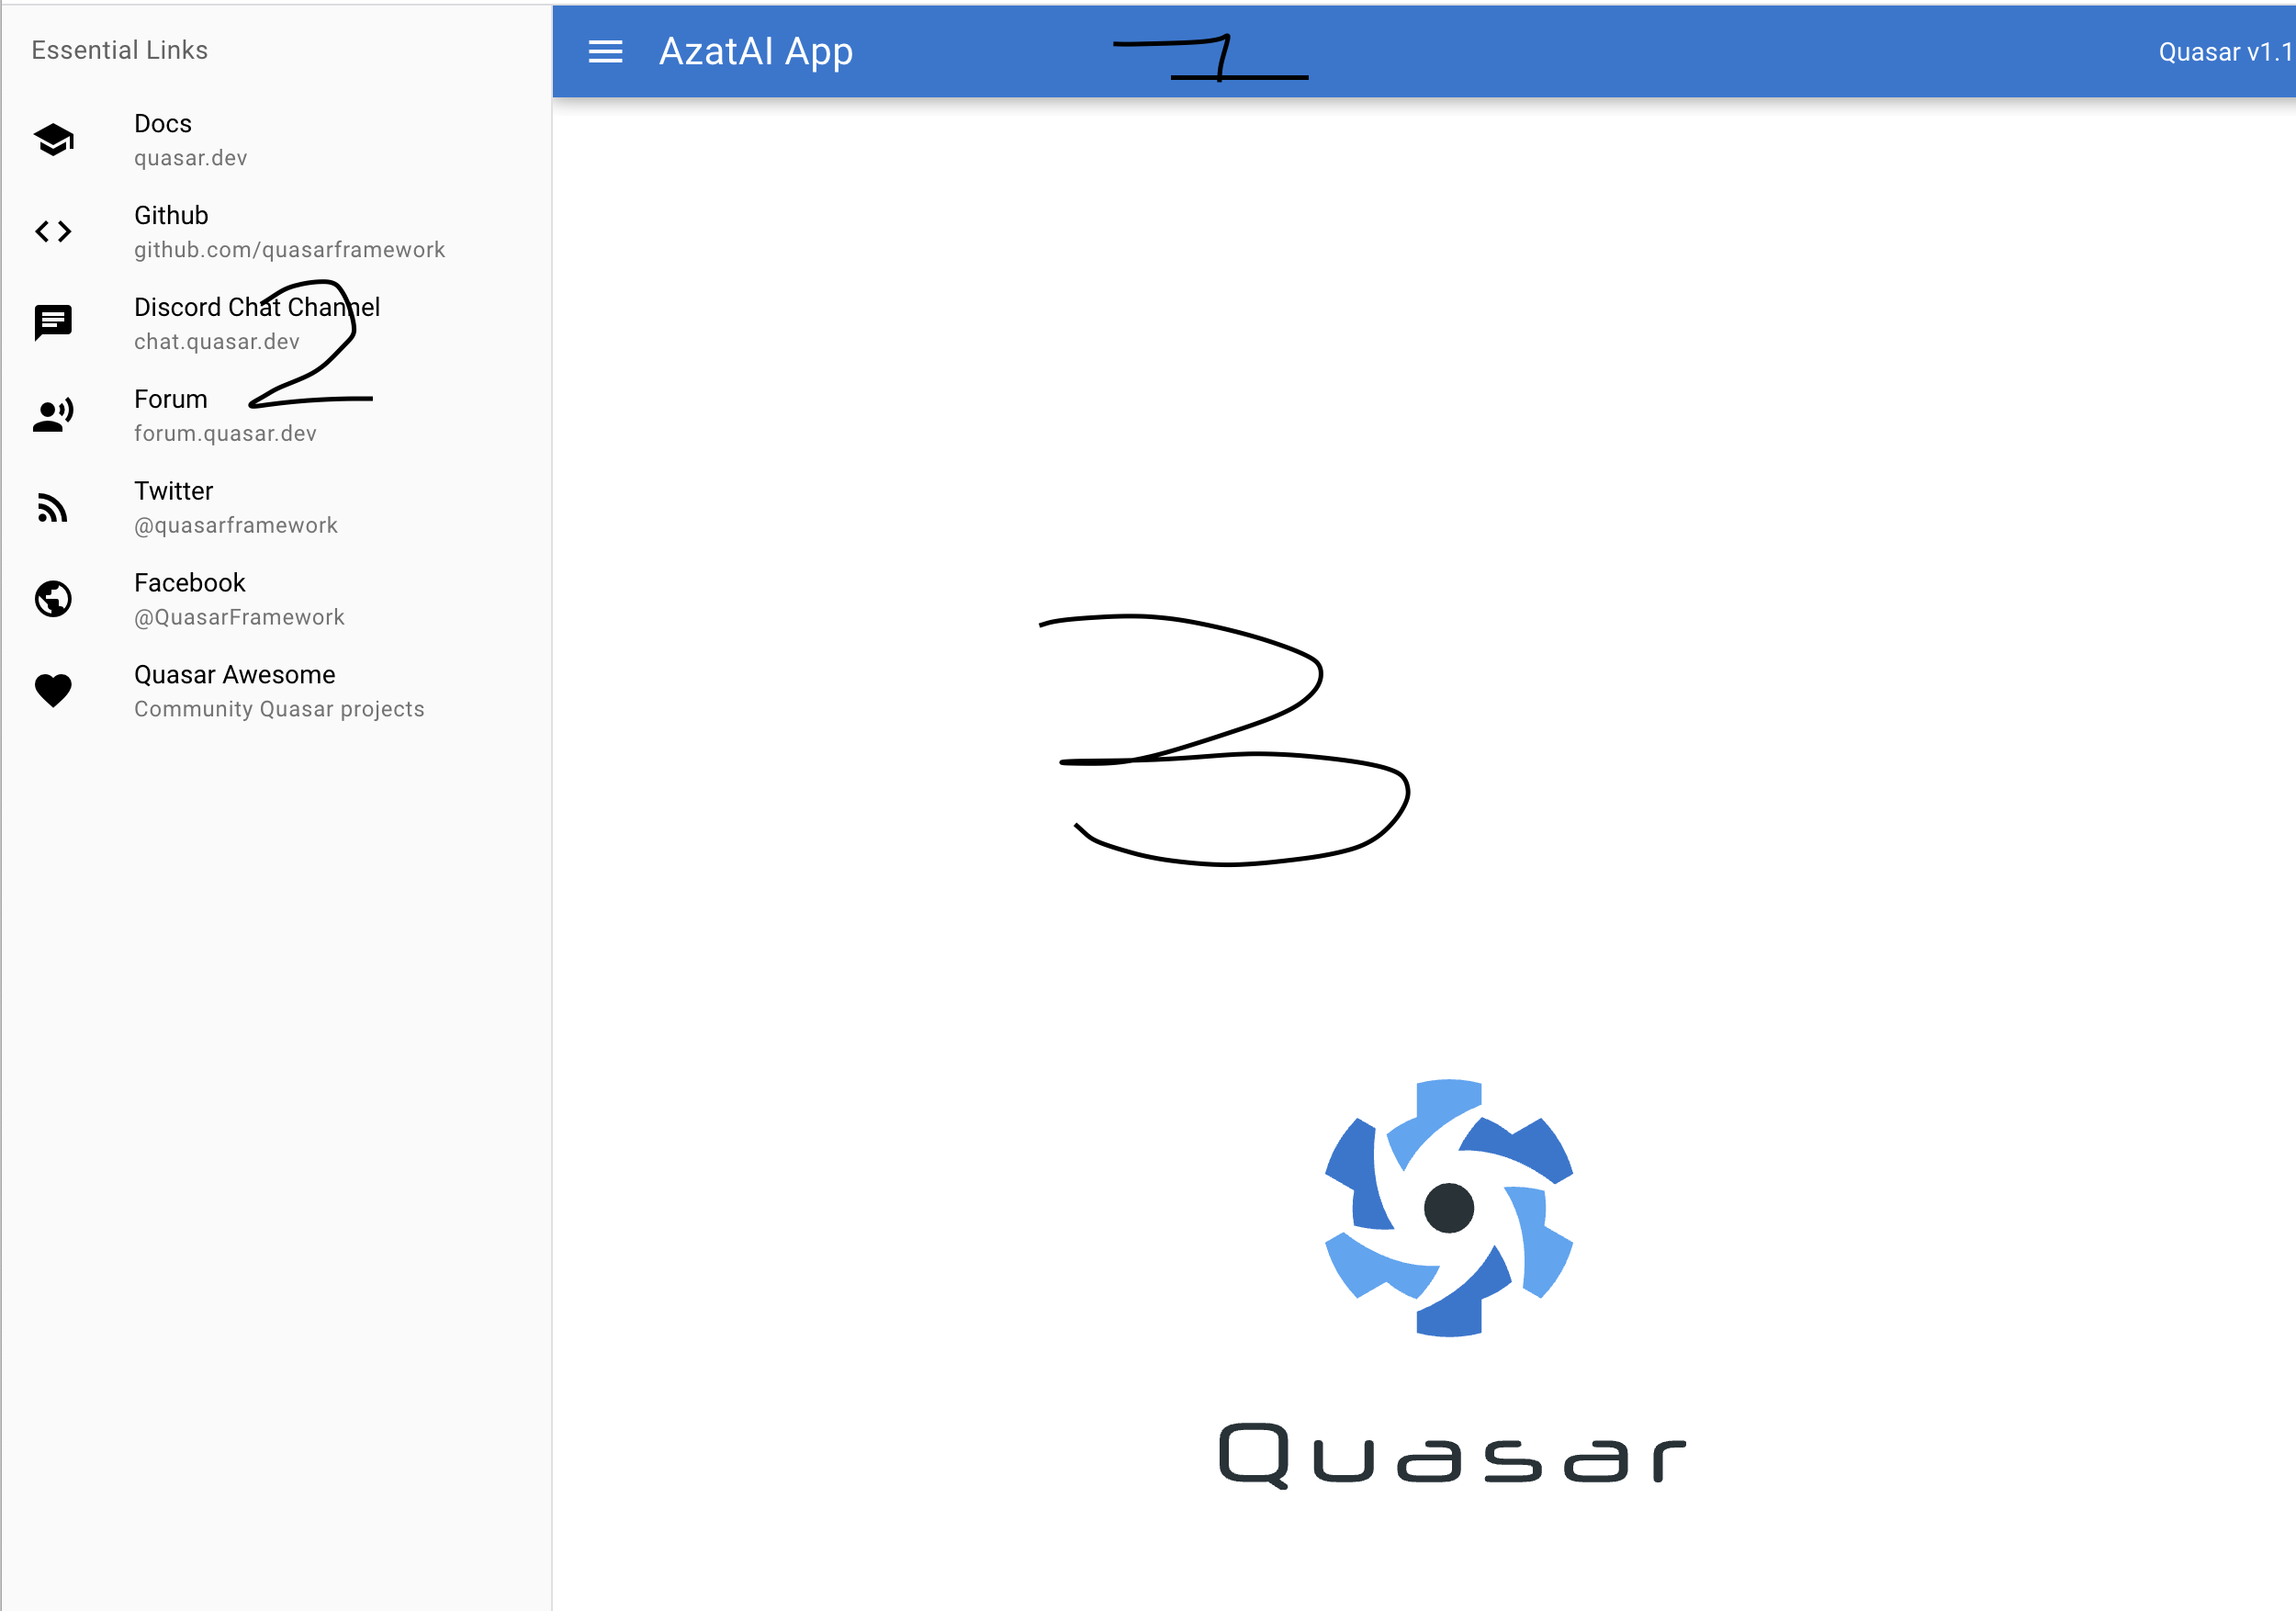
The first and second part is same for the whole project (whole app) and that wont change, so it has nothing to do with the route, but the third part changes according to the route.
<q-page-container>
      <router-view />
</q-page-container>
And it’s content is described here :
children: [
      { path: '', component: () => import('pages/Index.vue') }
    ]
so if we have the ‘’ then -> Index.Vue page will be open.
for a test, we can add another one as :
const routes = [
  {
    path: '/',
    component: () => import('layouts/MainLayout.vue'),
    children: [
      { path: '', component: () => import('pages/Index.vue') },
      { path: 'test', component: () => import('pages/Test.vue') }
    ]
  },

  // Always leave this as last one,
  // but you can also remove it
  {
    path: '*',
    component: () => import('pages/Error404.vue')
  }
]

export default routes
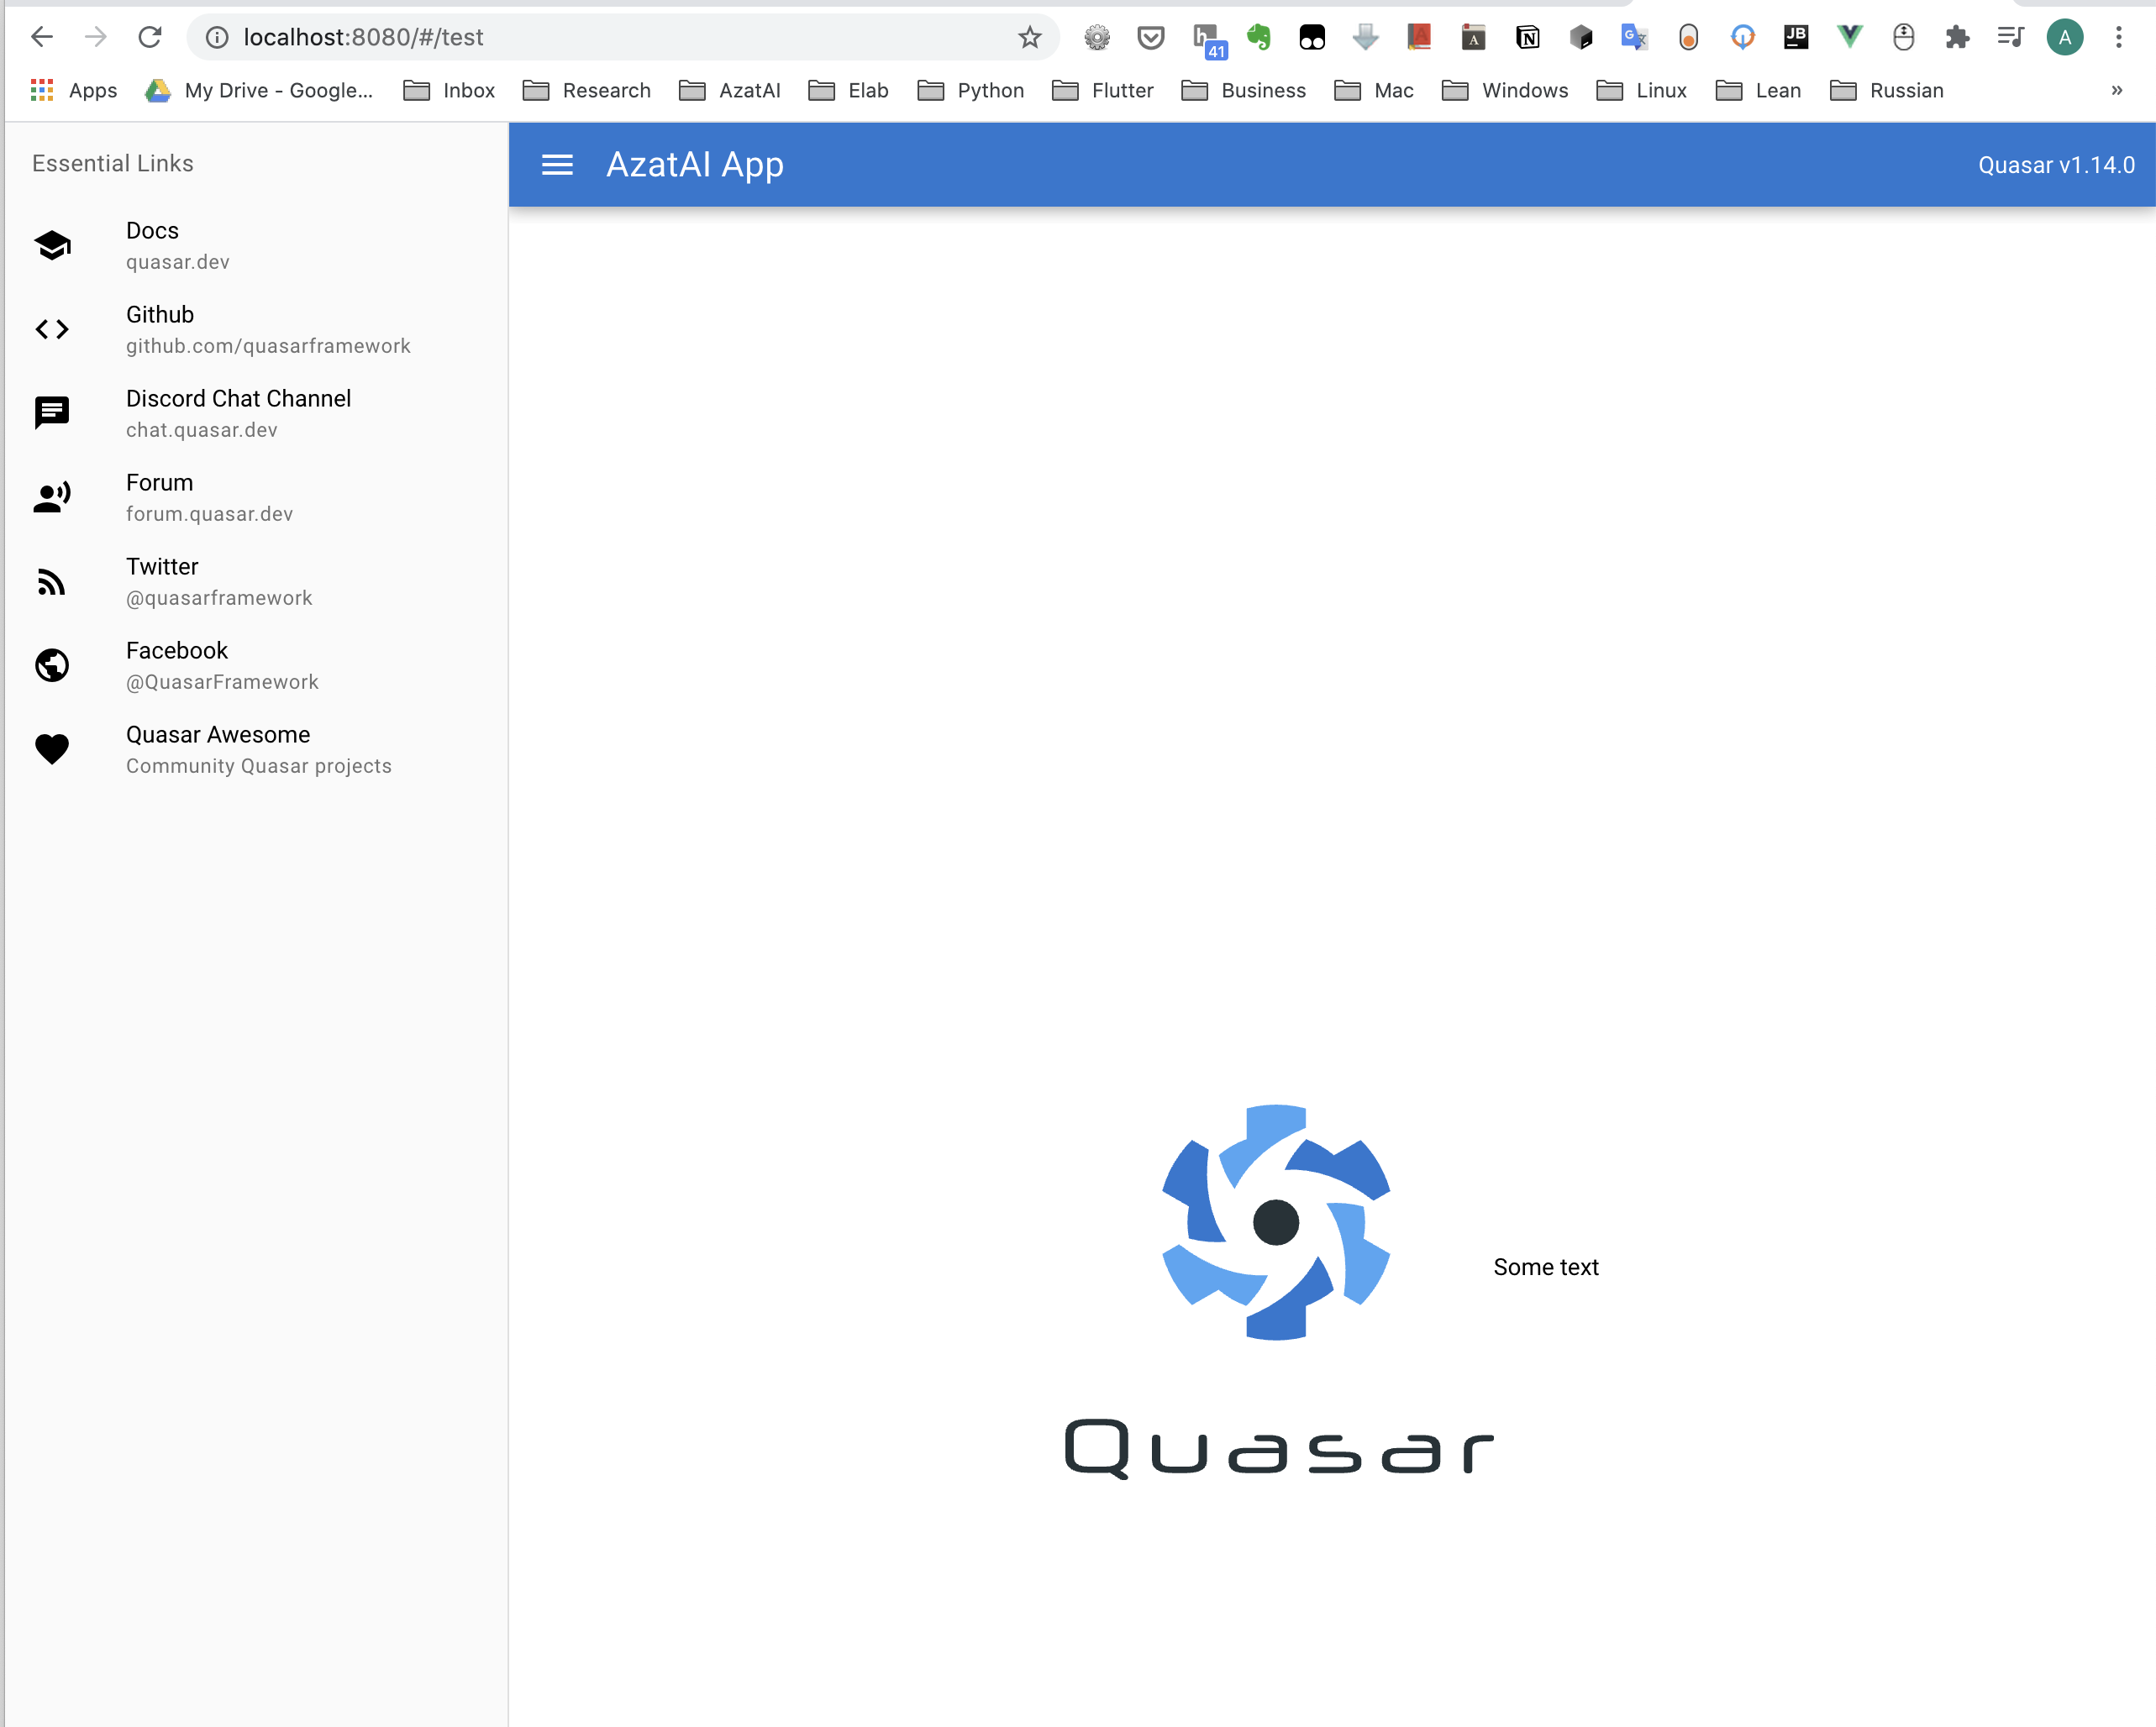
Lets change the UI by trying some of the layout from the Quasar layout gallaery :
const routes = [
  {
    path: '/',
    component: () => import('layouts/GooglePlay.vue'),
    children: [
      { path: '', component: () => import('pages/Index.vue') },
      { path: 'test', component: () => import('pages/Test.vue') }
    ]
  },

  // Always leave this as last one,
  // but you can also remove it
  {
    path: '*',
    component: () => import('pages/Error404.vue')
  }
]

export default routes
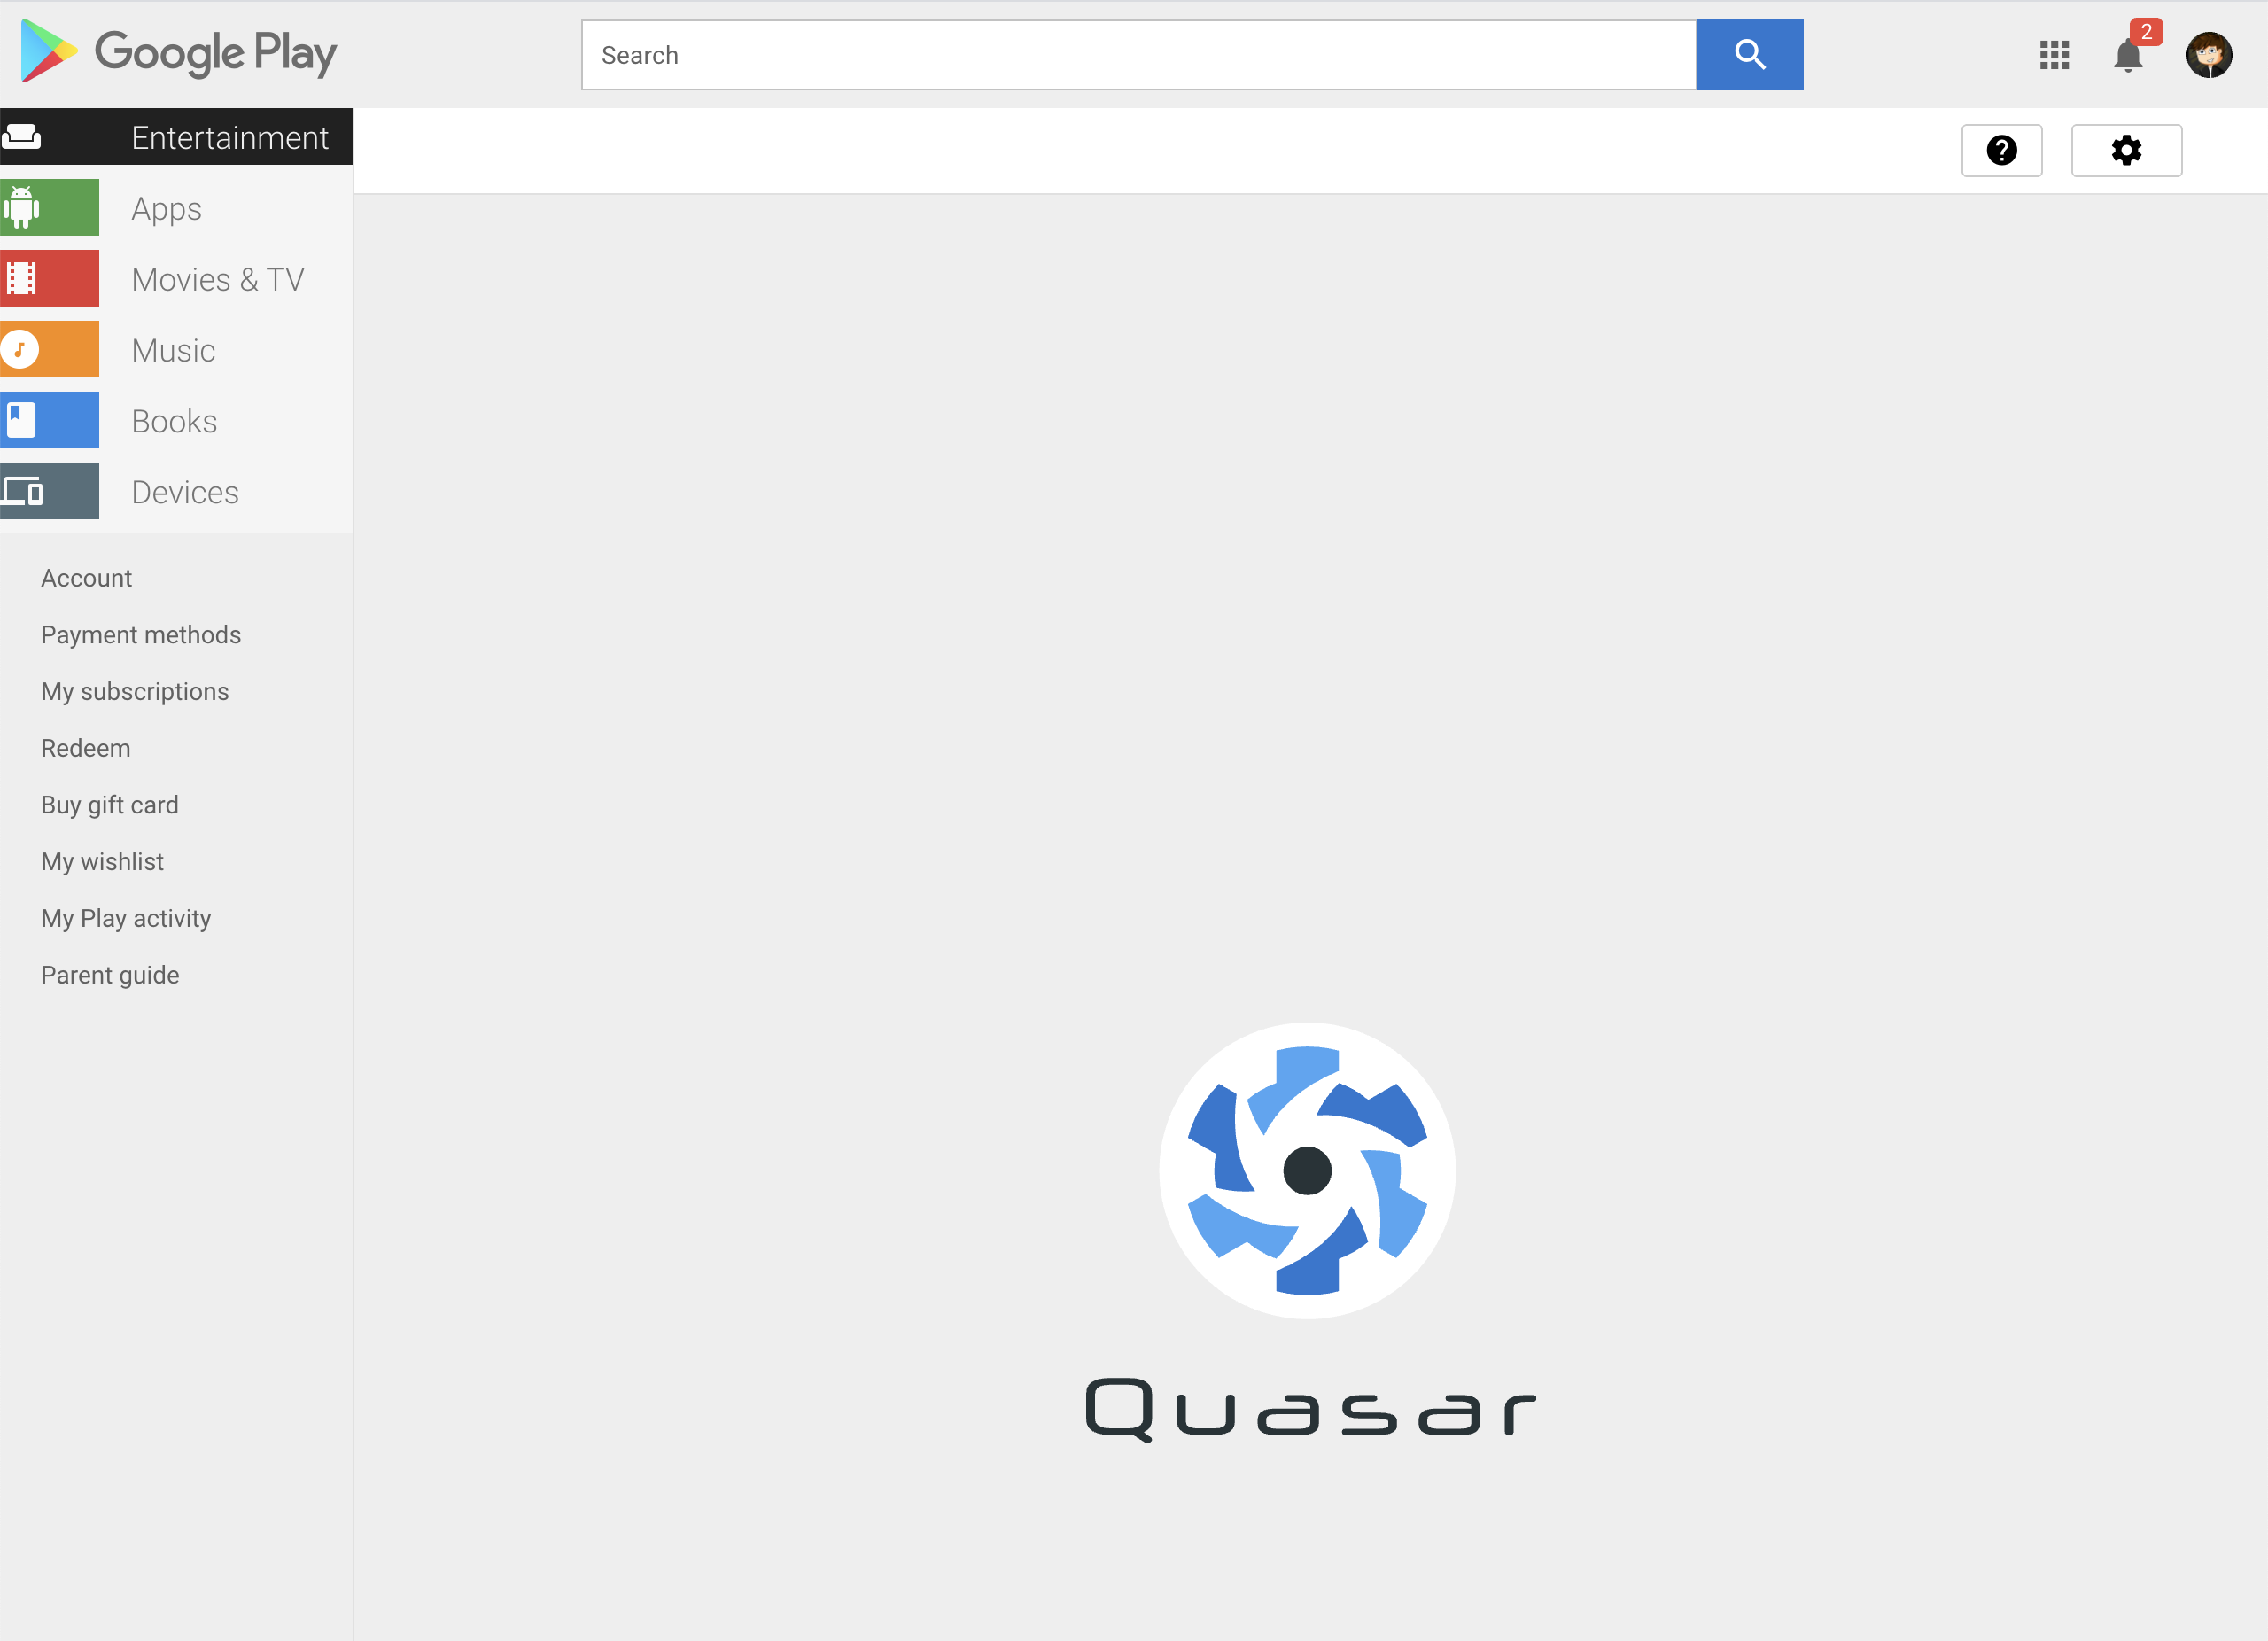
Then the layout is changed, but the content of the page dose not. this is how layout works !
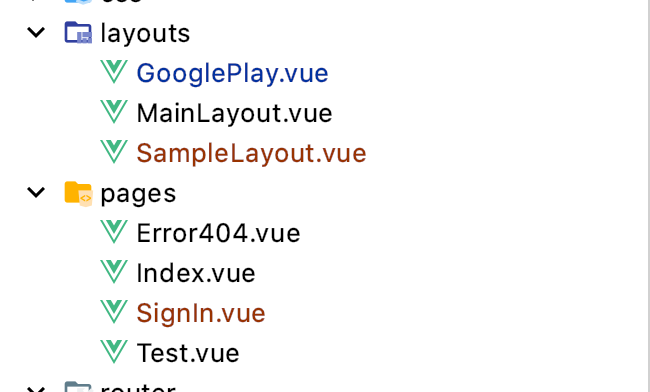
To create an own layout :
quasar new layout SampleLayout

To create a new page ;
quasar new page SignIn

All quasar CLI Commands:
$ quasar

  ___
 / _ \ _   _  __ _ ___  __ _ _ __
| | | | | | |/ _` / __|/ _` | '__|
| |_| | |_| | (_| \__ \ (_| | |
 \__\_\\__,_|\__,_|___/\__,_|_|

  Example usage
    $ quasar <command> <options>

  Help for a command
    $ quasar <command> --help
    $ quasar <command> -h

  Options
    --version, -v Print Quasar App CLI version

  Commands
    dev, d        Start a dev server for your App
    build, b      Build your app for production
    clean, c      Clean all build artifacts
    new, n        Quickly scaffold page/layout/component/... vue file
    mode, m       Add/remove Quasar Modes for your App
    inspect       Inspect generated Webpack config
    ext, e        Manage Quasar App Extensions
    run, r        Run specific command provided by an installed
                    Quasar App Extension
    describe      Describe a Quasar API (component)
    test, t       Run @quasar/testing App Extension command
                    - requires @quasar/testing App Extension to be installed
                    - this is an alias command for convenience purposes
    info, i       Display info about your machine and your App
    help, h       Displays this message

  If the specified command is not found, then "quasar run"
  will be executed with the provided arguments.

  Commands supplied by @quasar/cli global installation:

    upgrade       Check (and optionally) upgrade Quasar packages
                    from a Quasar project folder
    serve         Create an ad-hoc server on App's distributables
Vue Components
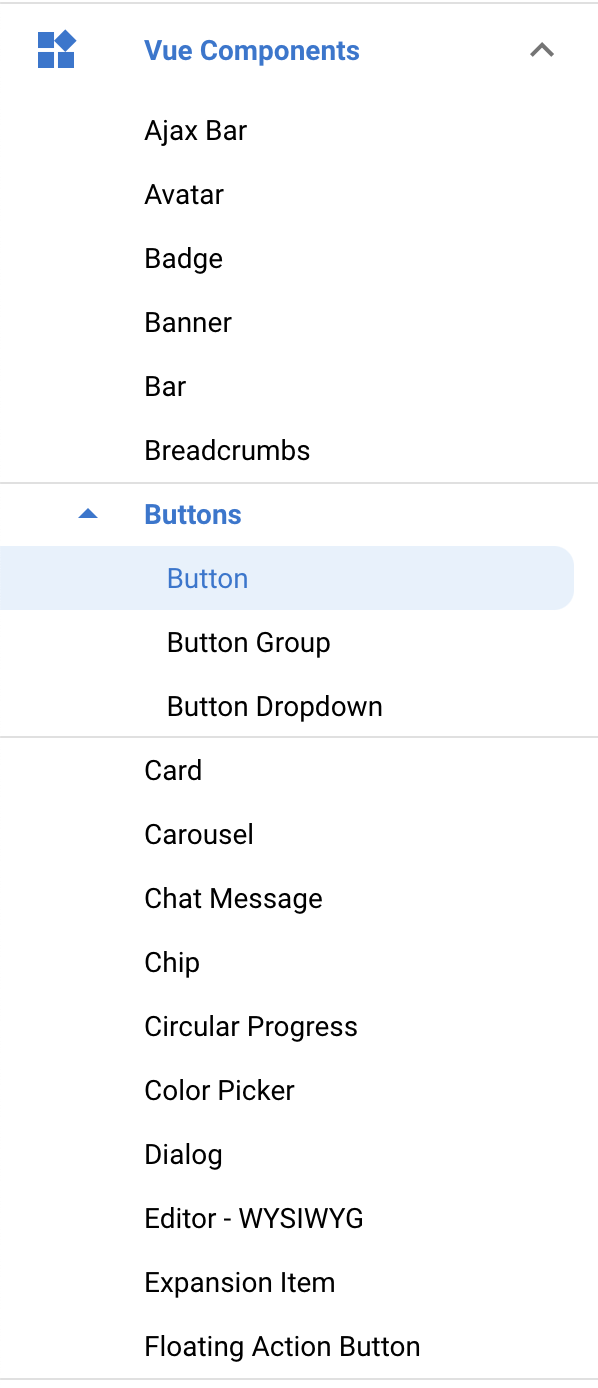
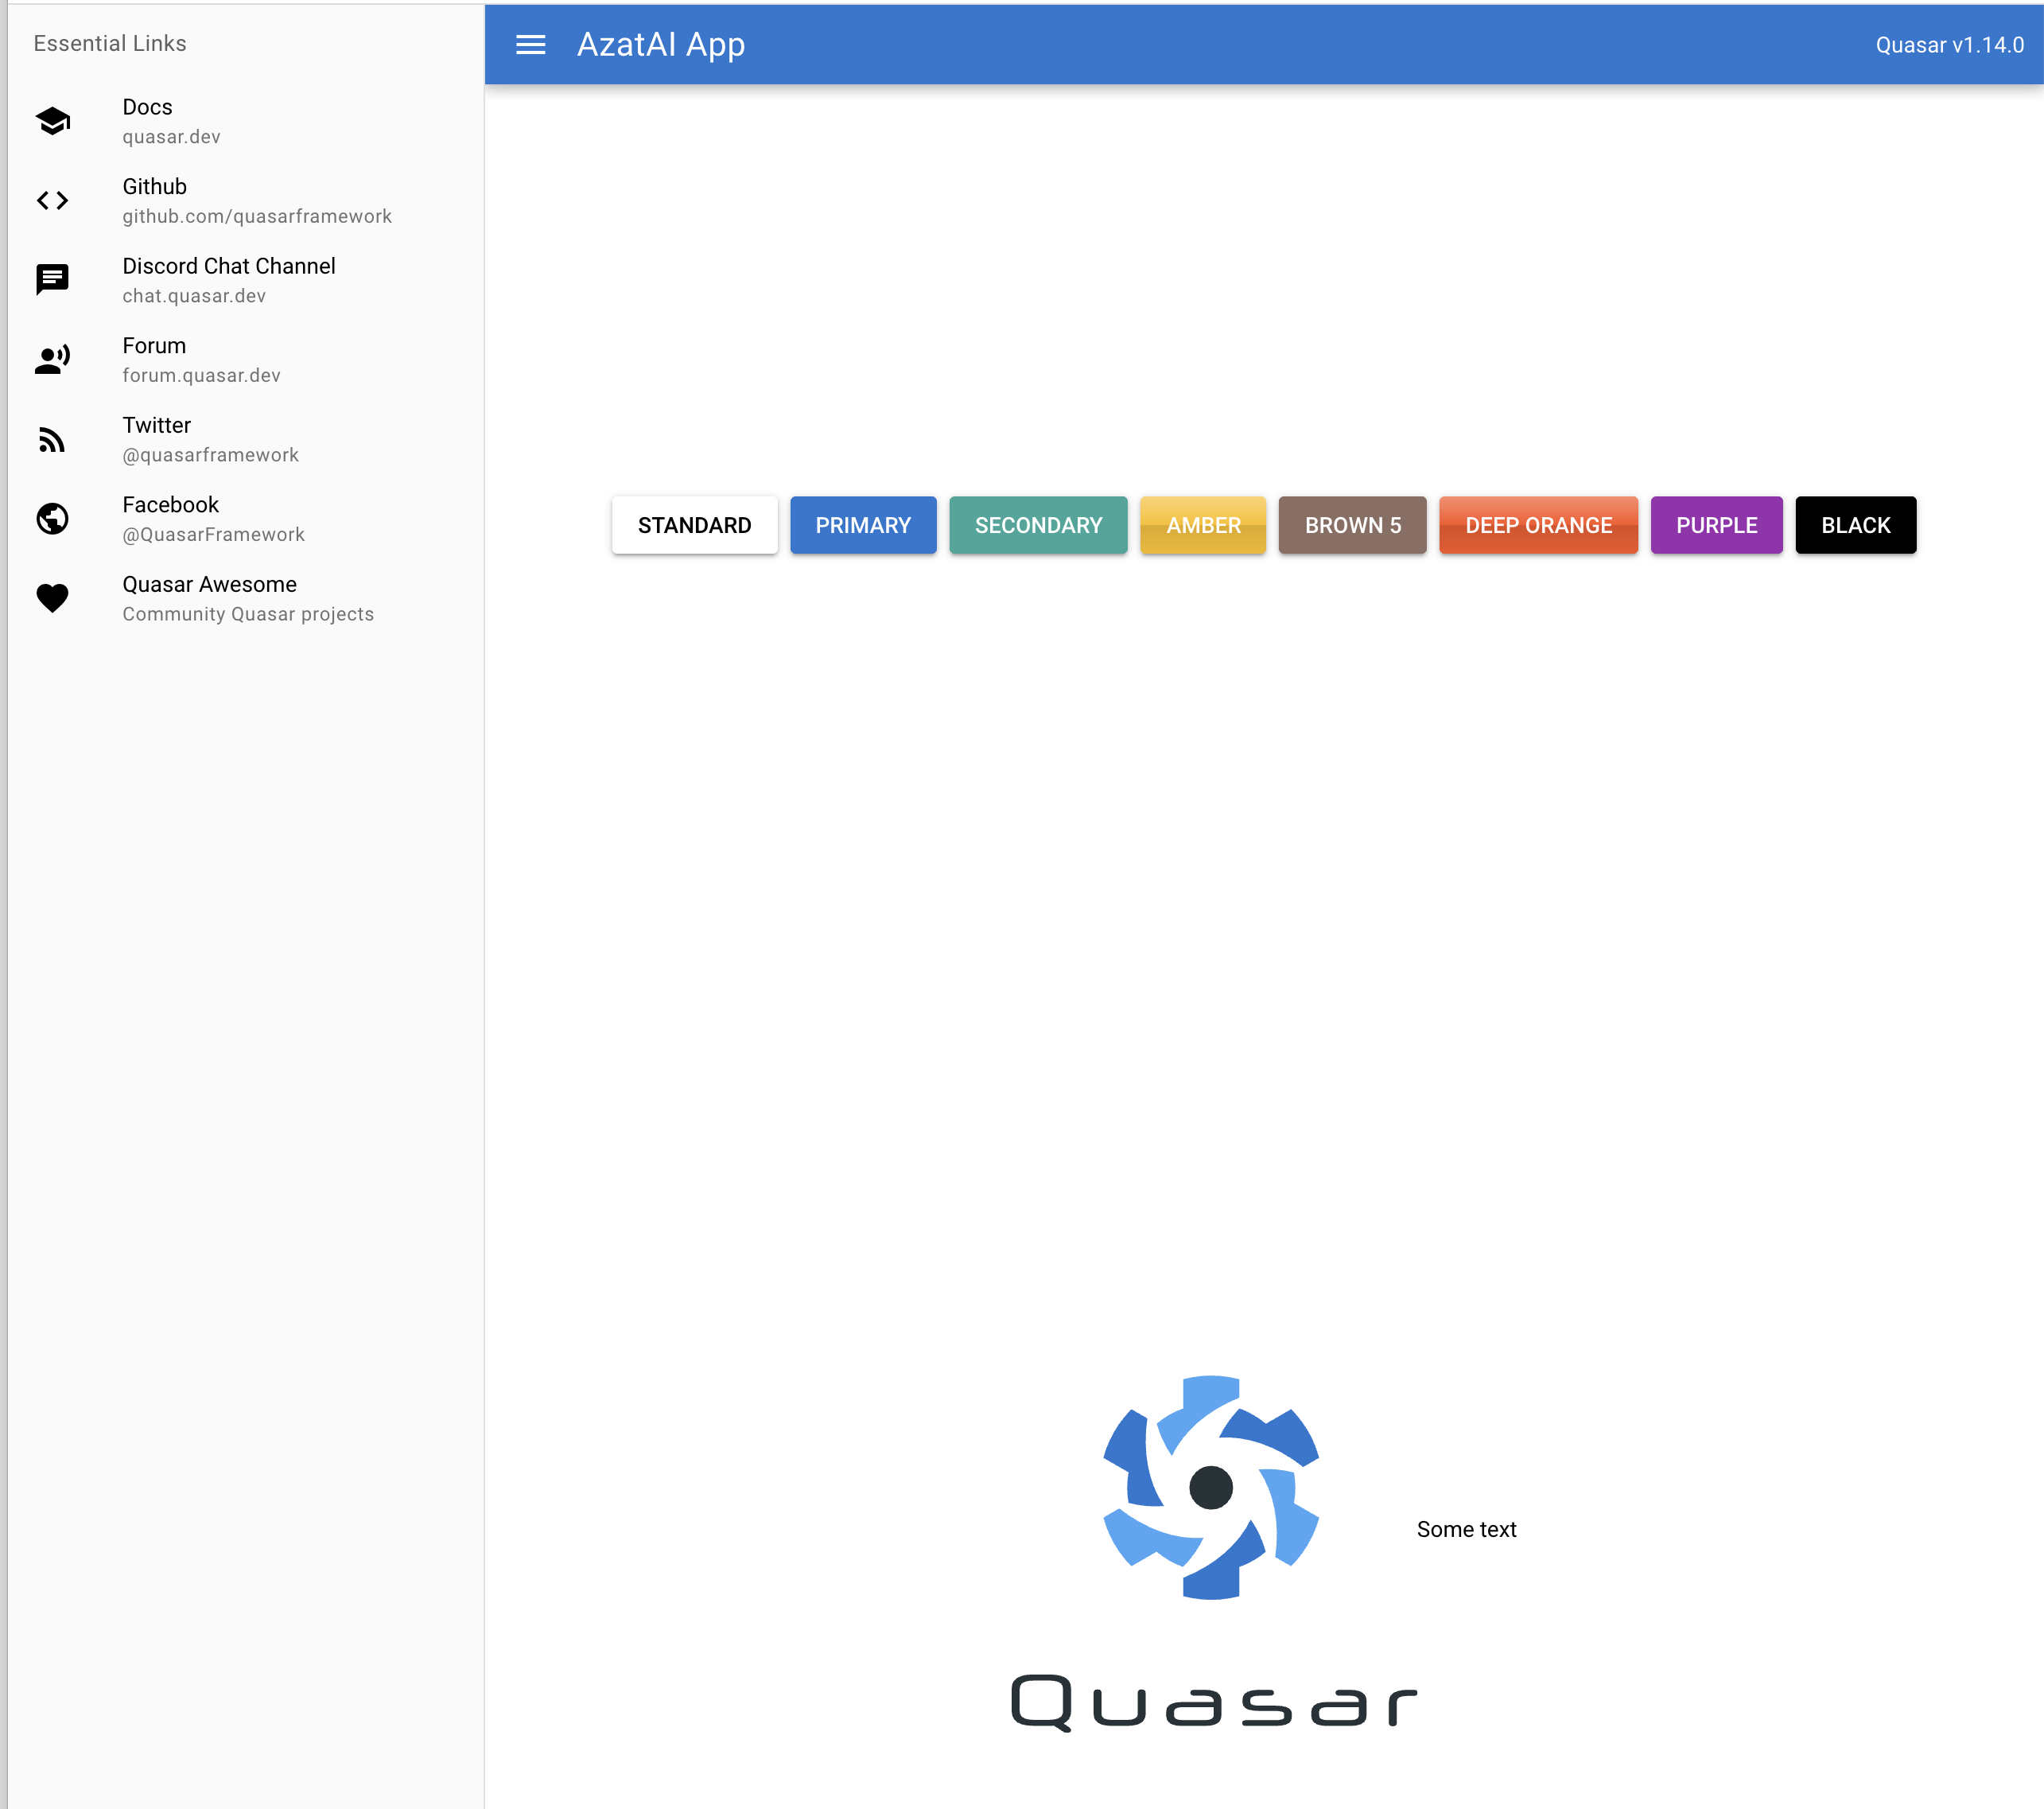
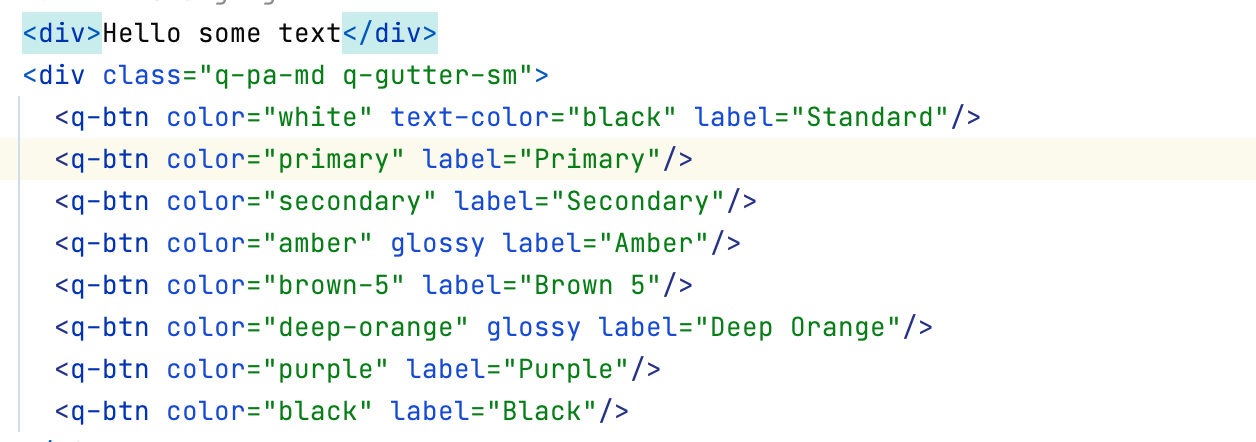
Vue components are reuseable UI components,we can just copy and paste and do something tiled, and go:
<template>
  <q-page class="flex flex-center">
    <!--    changing -->
      <div class="q-pa-md q-gutter-sm">
        <q-btn color="white" text-color="black" label="Standard" />
        <q-btn color="primary" label="Primary" />
        <q-btn color="secondary" label="Secondary" />
        <q-btn color="amber" glossy label="Amber" />
        <q-btn color="brown-5" label="Brown 5" />
        <q-btn color="deep-orange" glossy label="Deep Orange" />
        <q-btn color="purple" label="Purple" />
        <q-btn color="black" label="Black" />
      </div>
    <!--    changing -->
    <img
      alt="Quasar logo"
      src="~assets/quasar-logo-full.svg"
    >
    <div>
      <p>
        Some text
      </p>
    </div>
  </q-page>
</template>

<script>
export default {
  name: 'PageIndex'
}
</script>
Styles
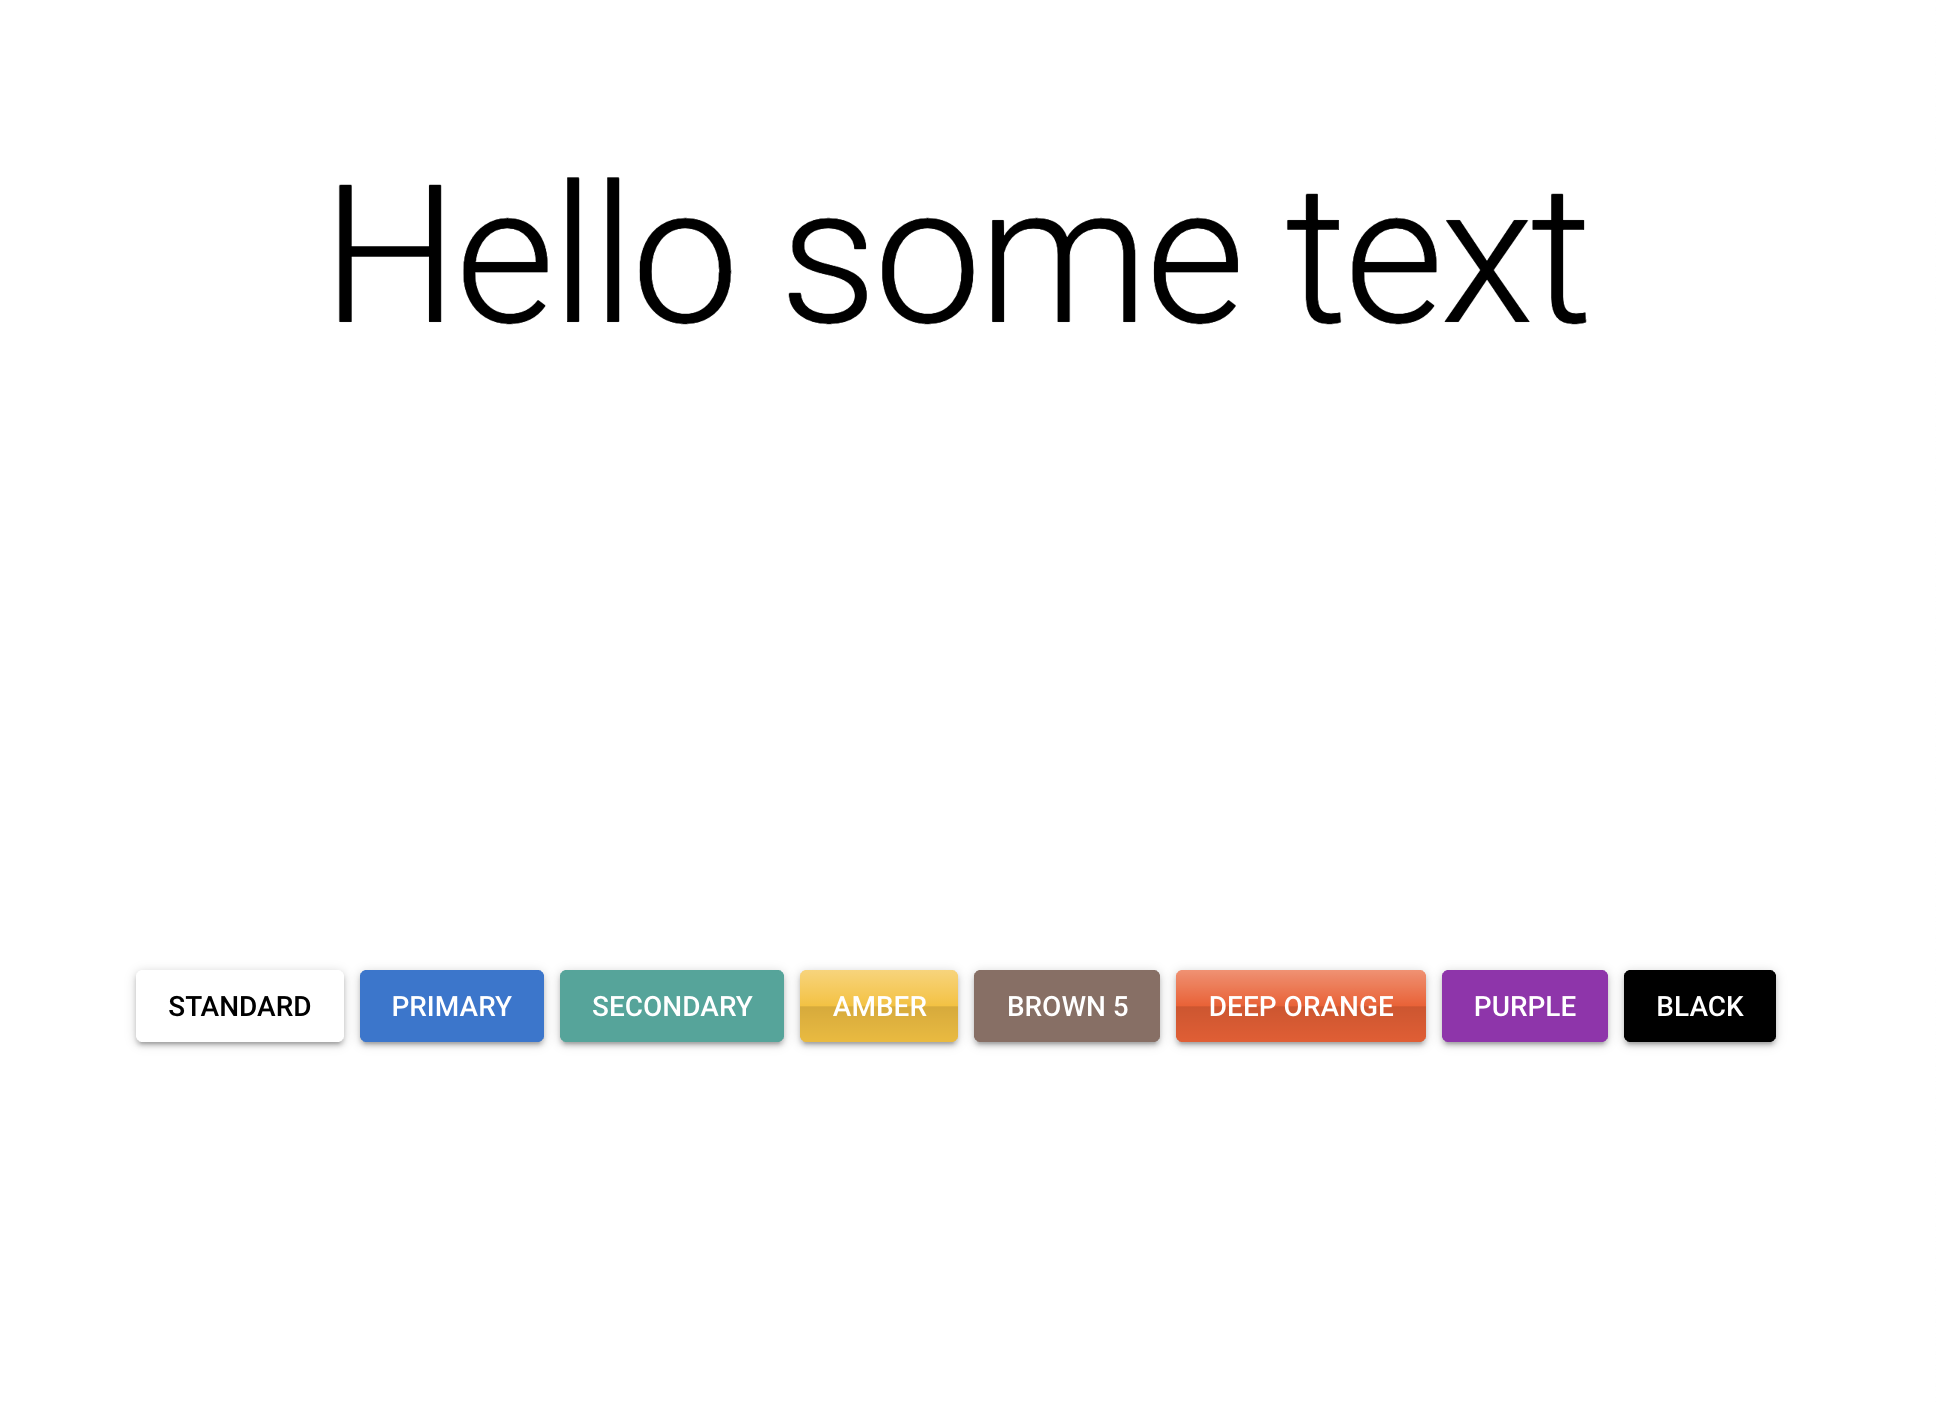
Quasar Framework Actually comes with a few pre defined styles :

After changing the class, using the predefined ones:
<div class="text-h1">Hello some text</div>
Responsive Toolbar
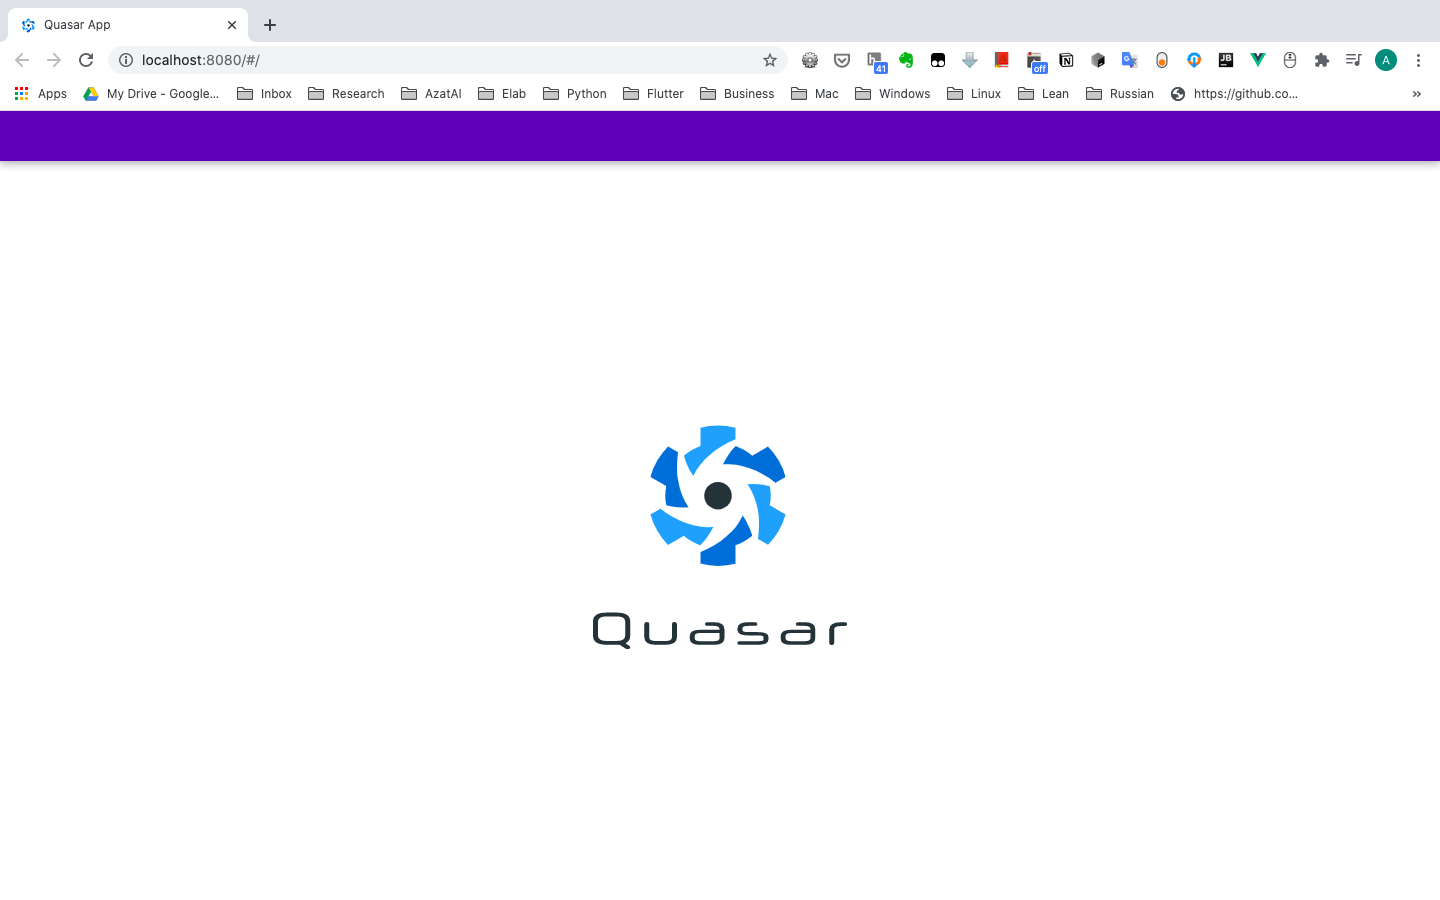
remove the menu and drawer and other staff
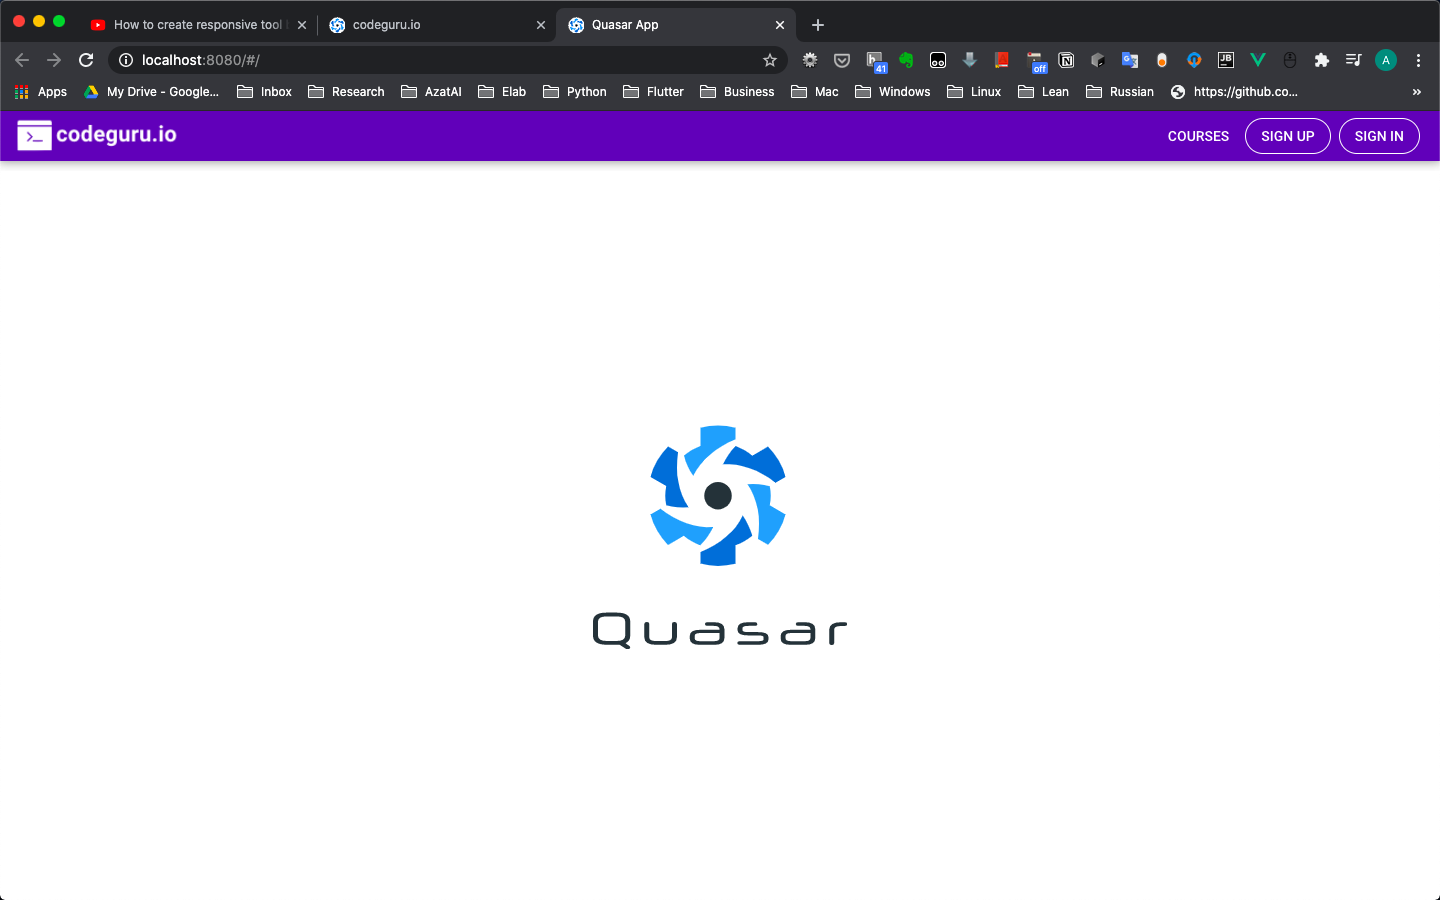
added the image to the tool bar using q-img
<q-img
  src="~assets/logo/horizontal.png"
  style="width:170px"
>

add buttons then next. remembered where the default version is shown before ?
that is the place to show our nav bar menus.
and then we have to show the mobile version of the menu.
remove the drawer’s if abvove property to make the drawer hidden by default.
    <q-drawer
      v-model="leftDrawerOpen"
      show-if-above
      bordered
      content-class="bg-grey-1"
    >
above code shows drawer :
and this won’t:
    <q-drawer
      v-model="leftDrawerOpen"

      bordered
      content-class="bg-grey-1"
    >
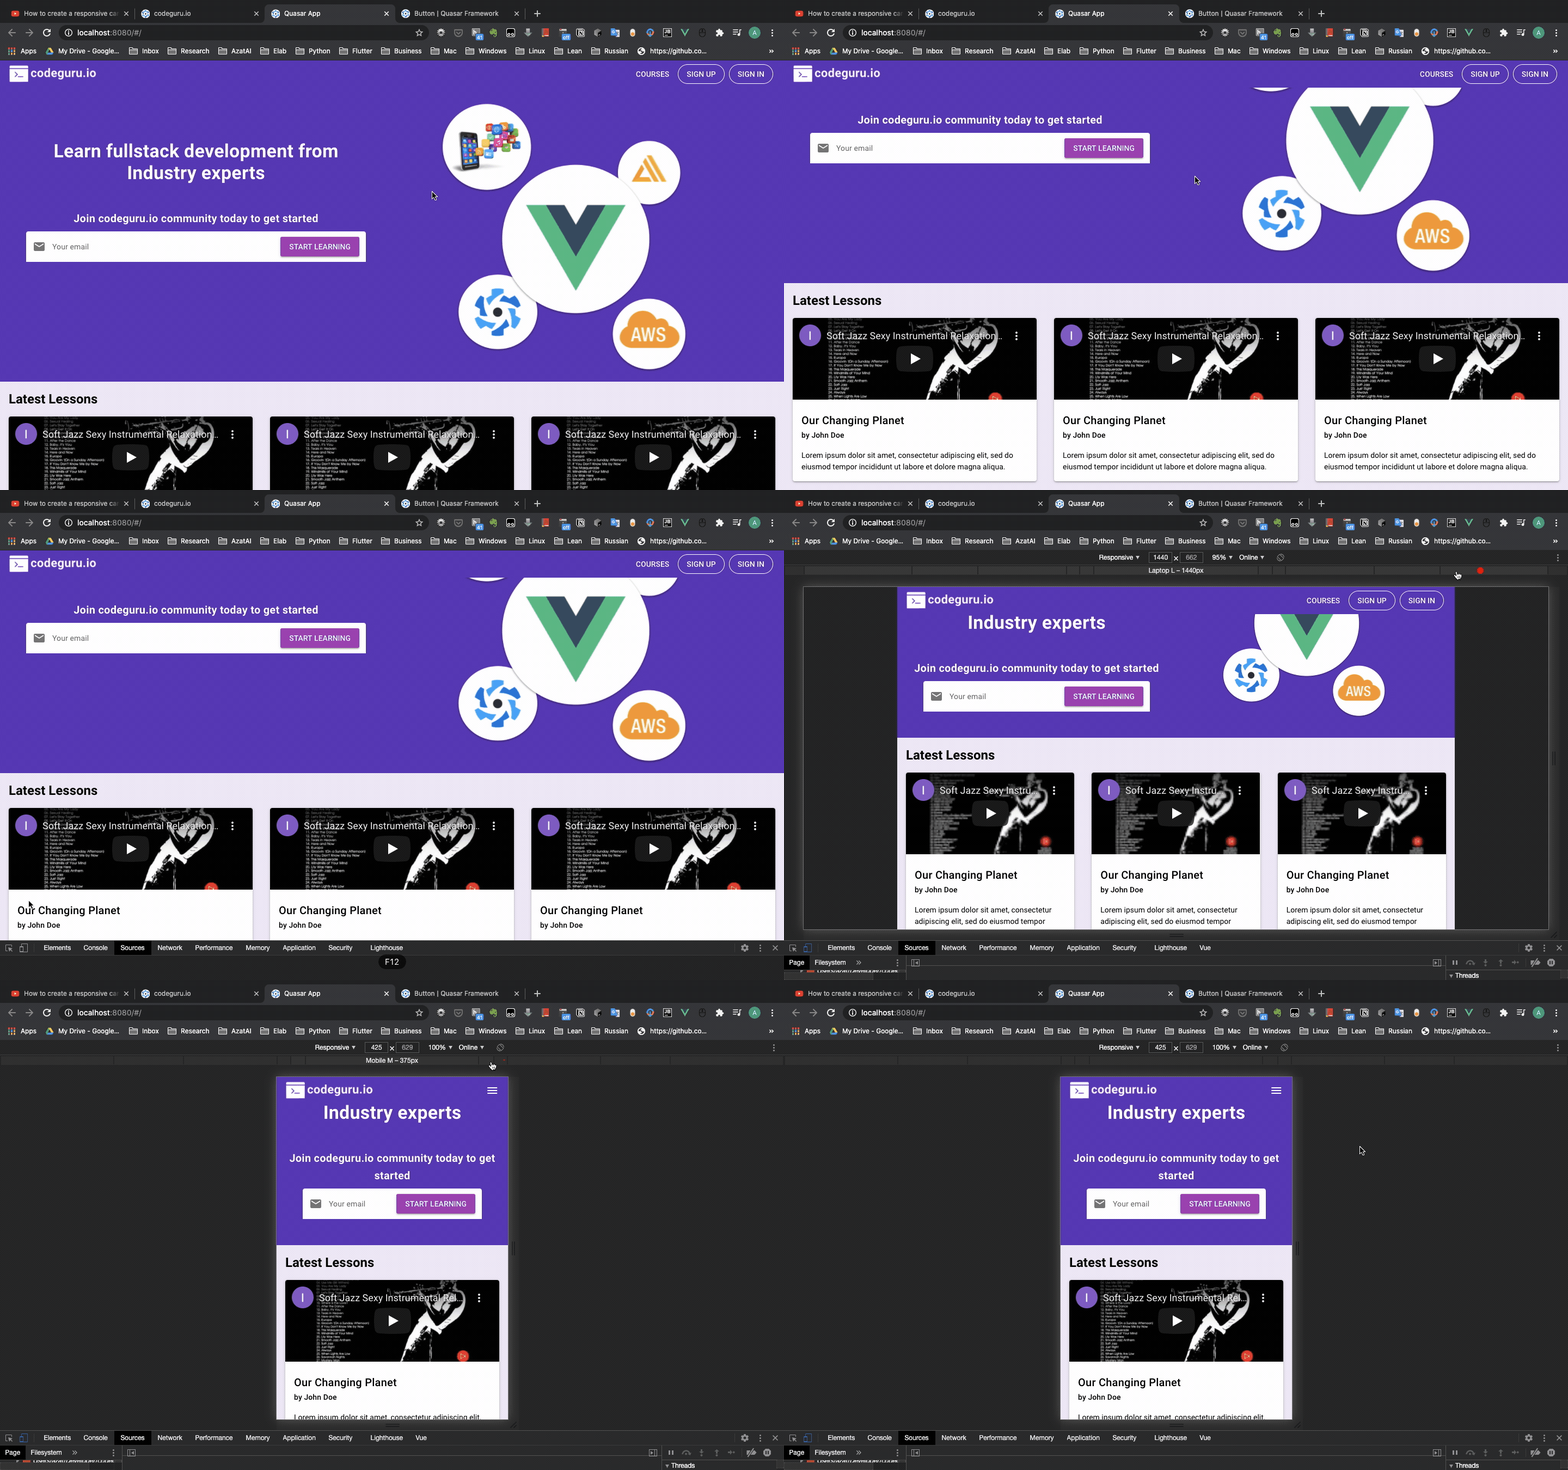
Creating a responsive header banner
Starting now we are going to handle the pages, not about the layouts.

Creating a responsive row
using grid systems help us to create diffrent responsive layouts.
Creating responsive Footer
